

Prefer to watch first? This short video walks you through setting up Pet2Vet as a pet owner. The full step-by-step guide follows below.
Pet2Vet connects you with nearby vets and helps you manage your pet's health in one place. You can book appointments without phone calls, share your pet's health data with your vet, track health, mood, weight, and expenses, share your pet's profile with loved ones, and explore pet-related content. This guide walks you through it, step by step, so you can get set up in a few minutes.
Step 1: Launch Pet2Vet and create your account
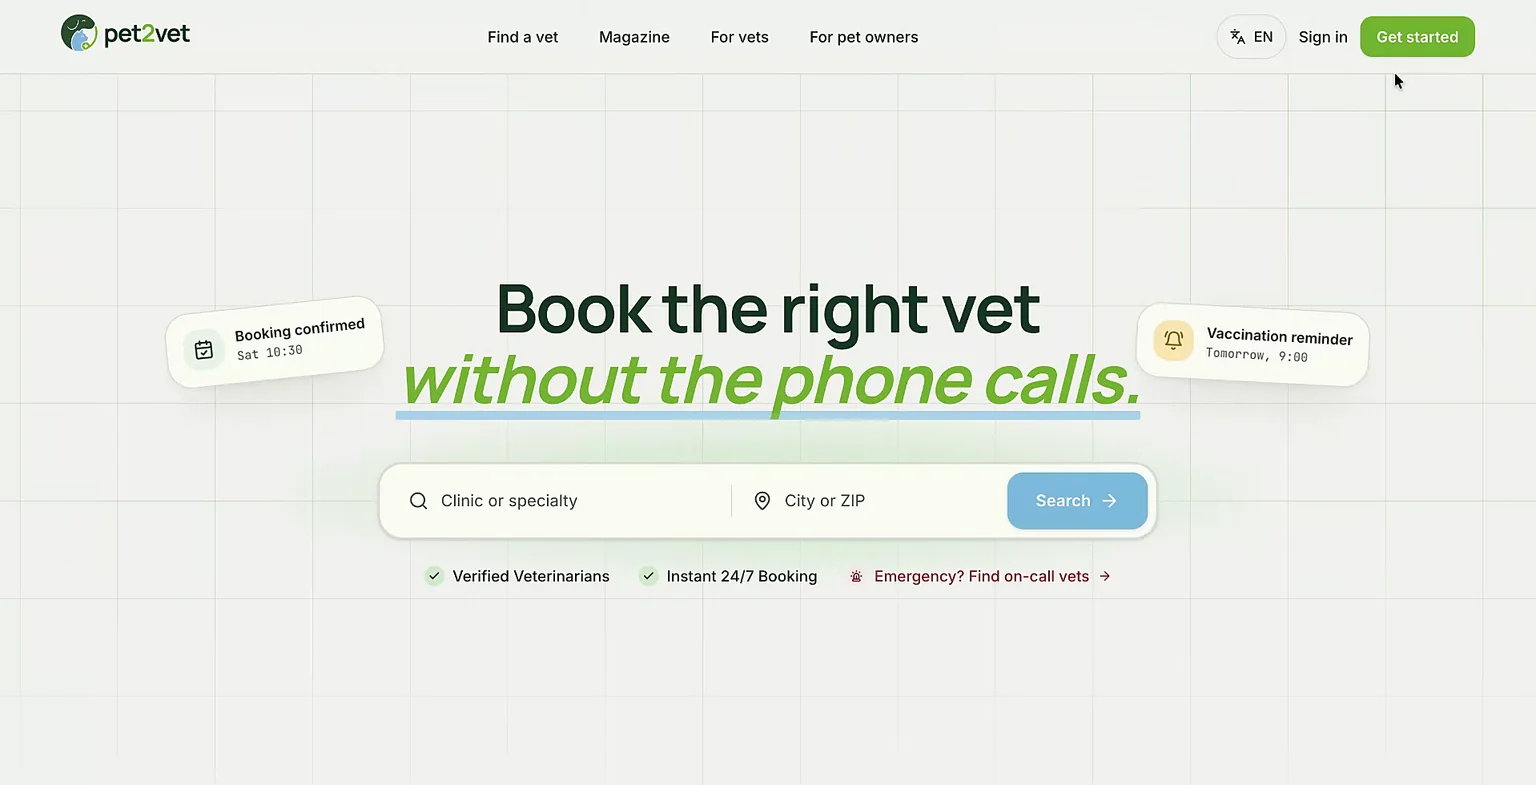
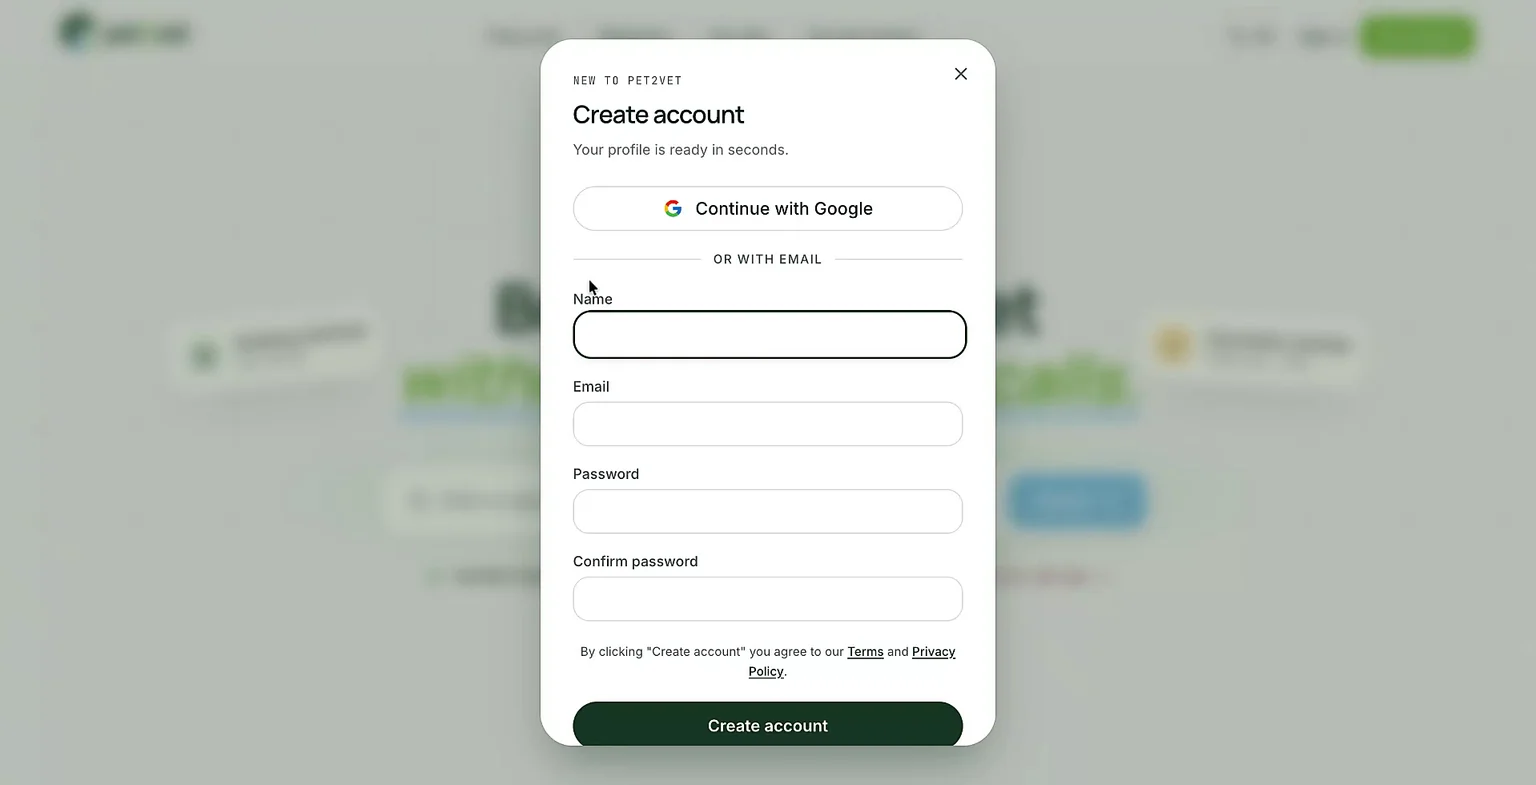
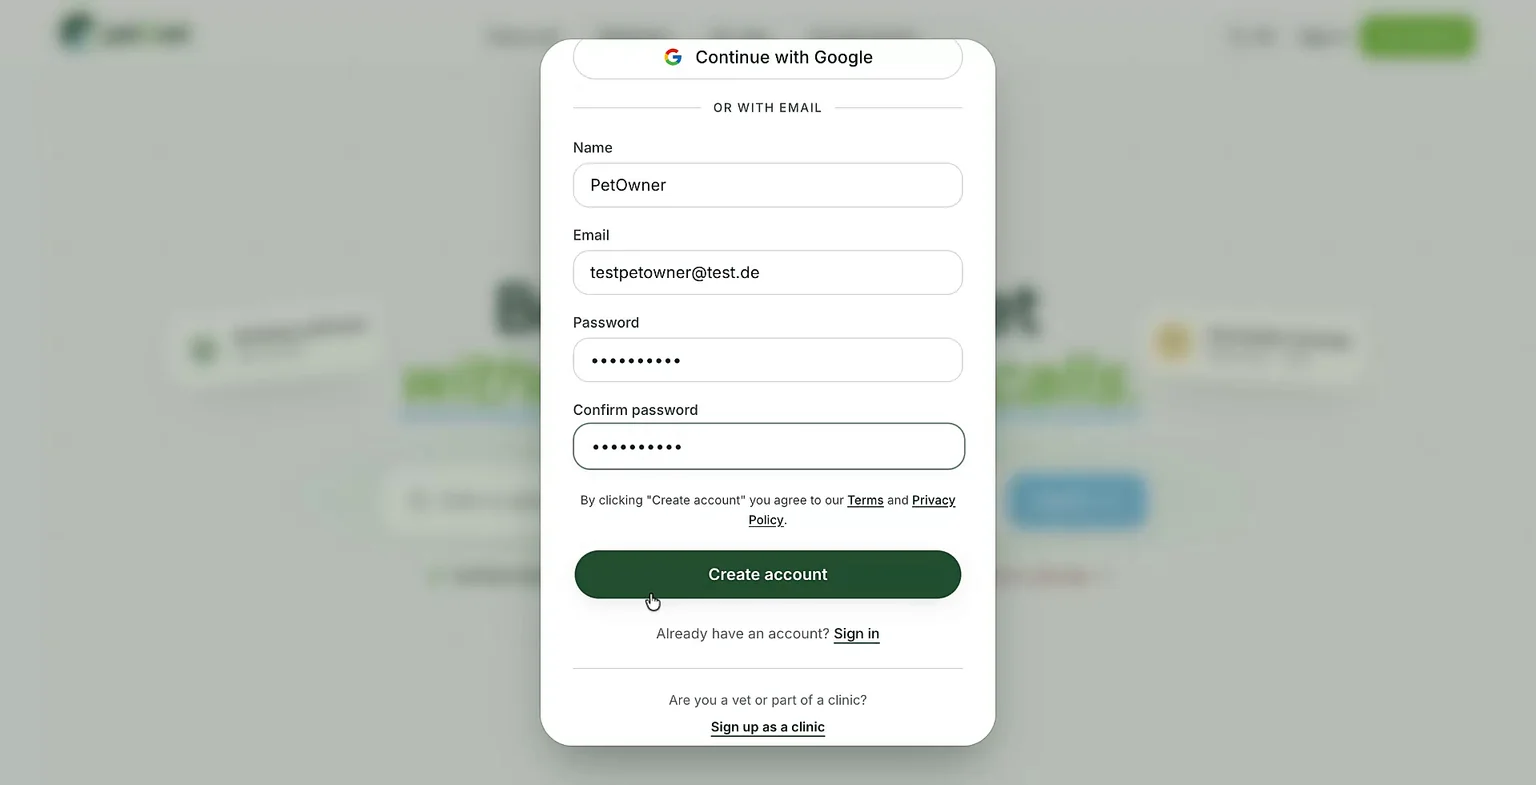
To get started, open the Pet2Vet app and click Get Started to set up a new account.
After creating your account and signing in, you will be taken to the main dashboard.
Step 2: Add your first pet
On the Pet2Vet dashboard, you can set up your pets and track their health. To begin, click the option to Add a new pet.
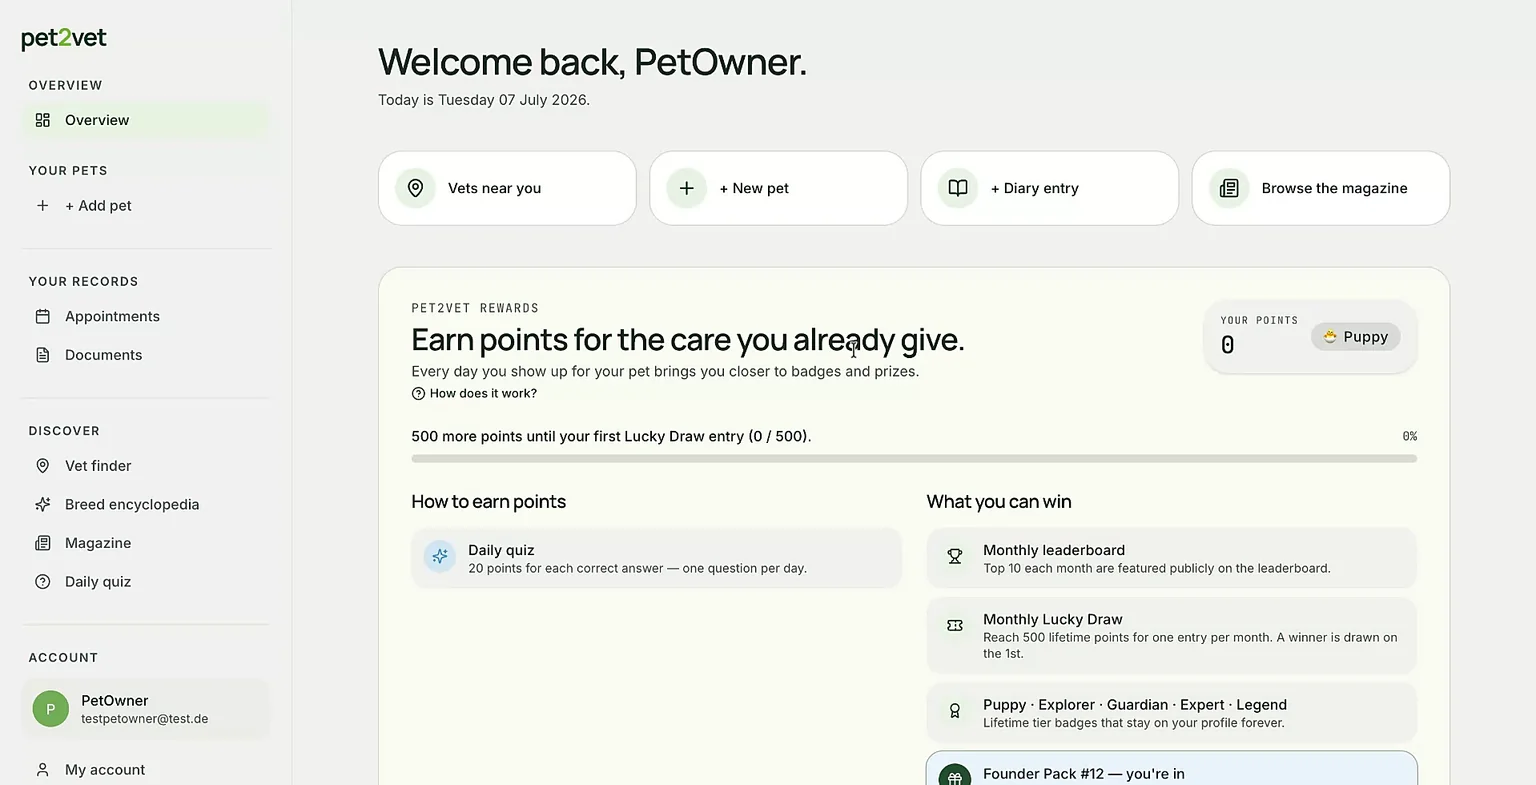
From the list of pet types, choose the type that matches your pet.
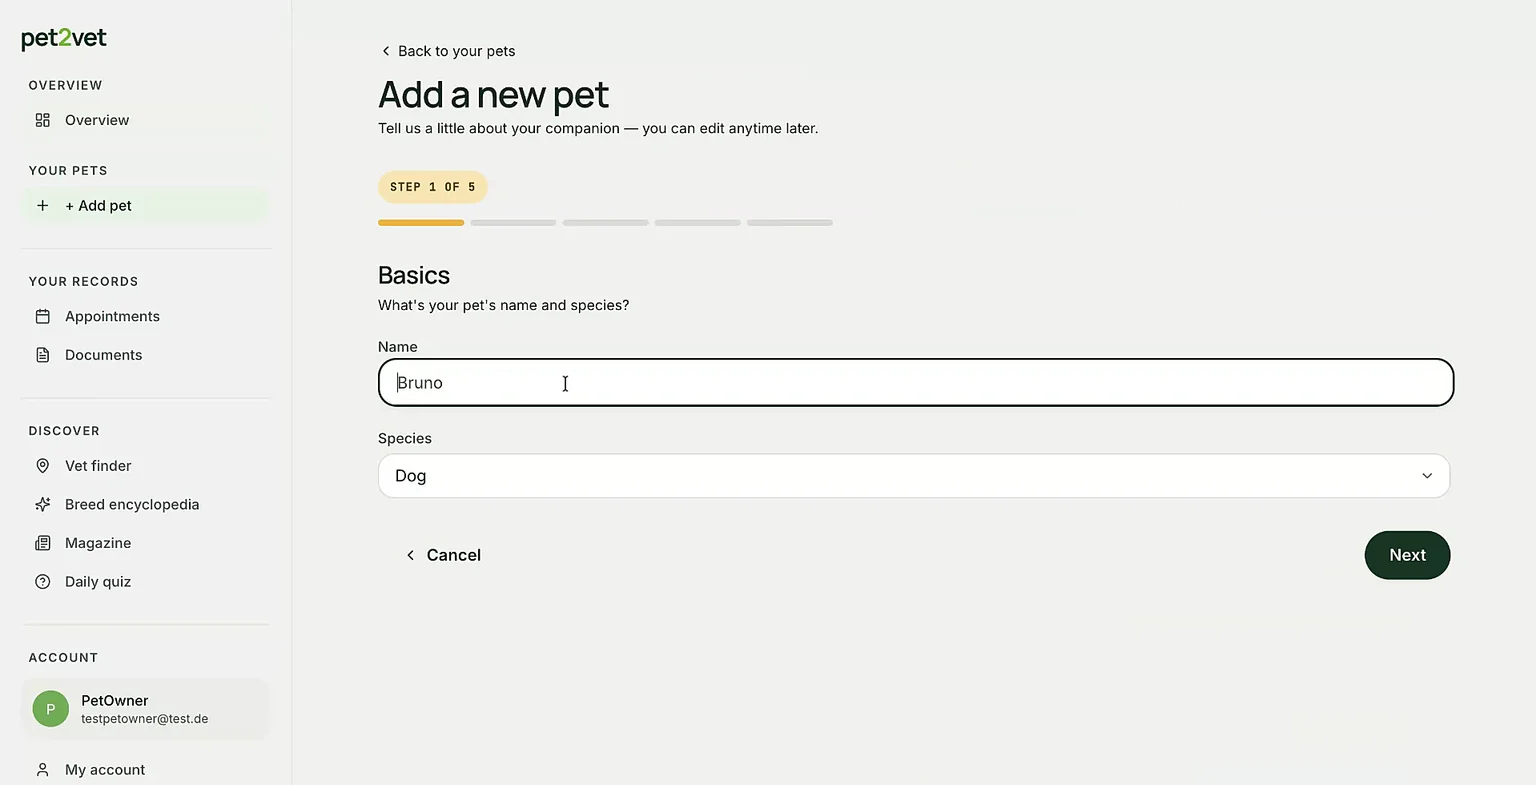
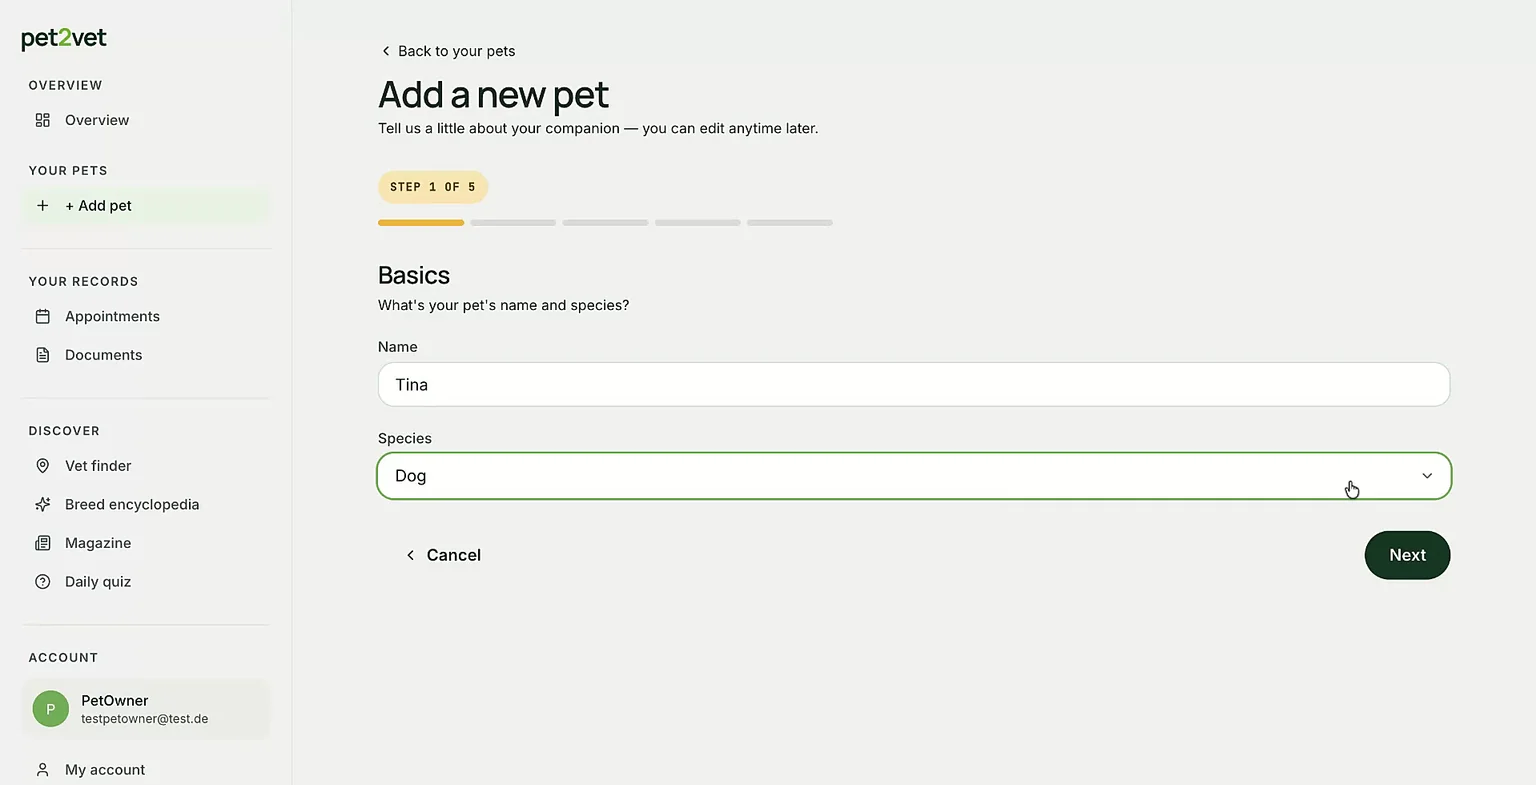
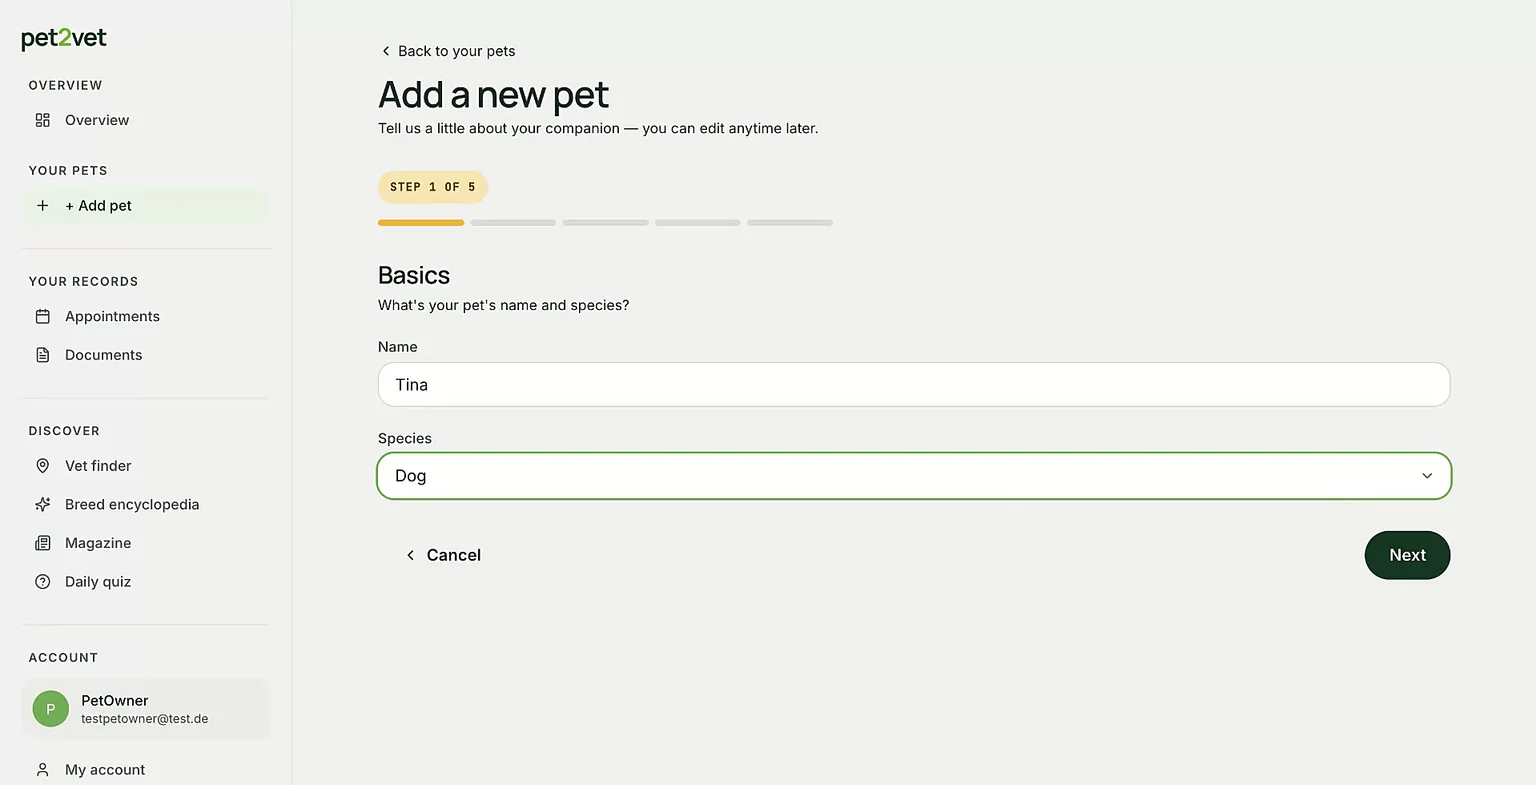
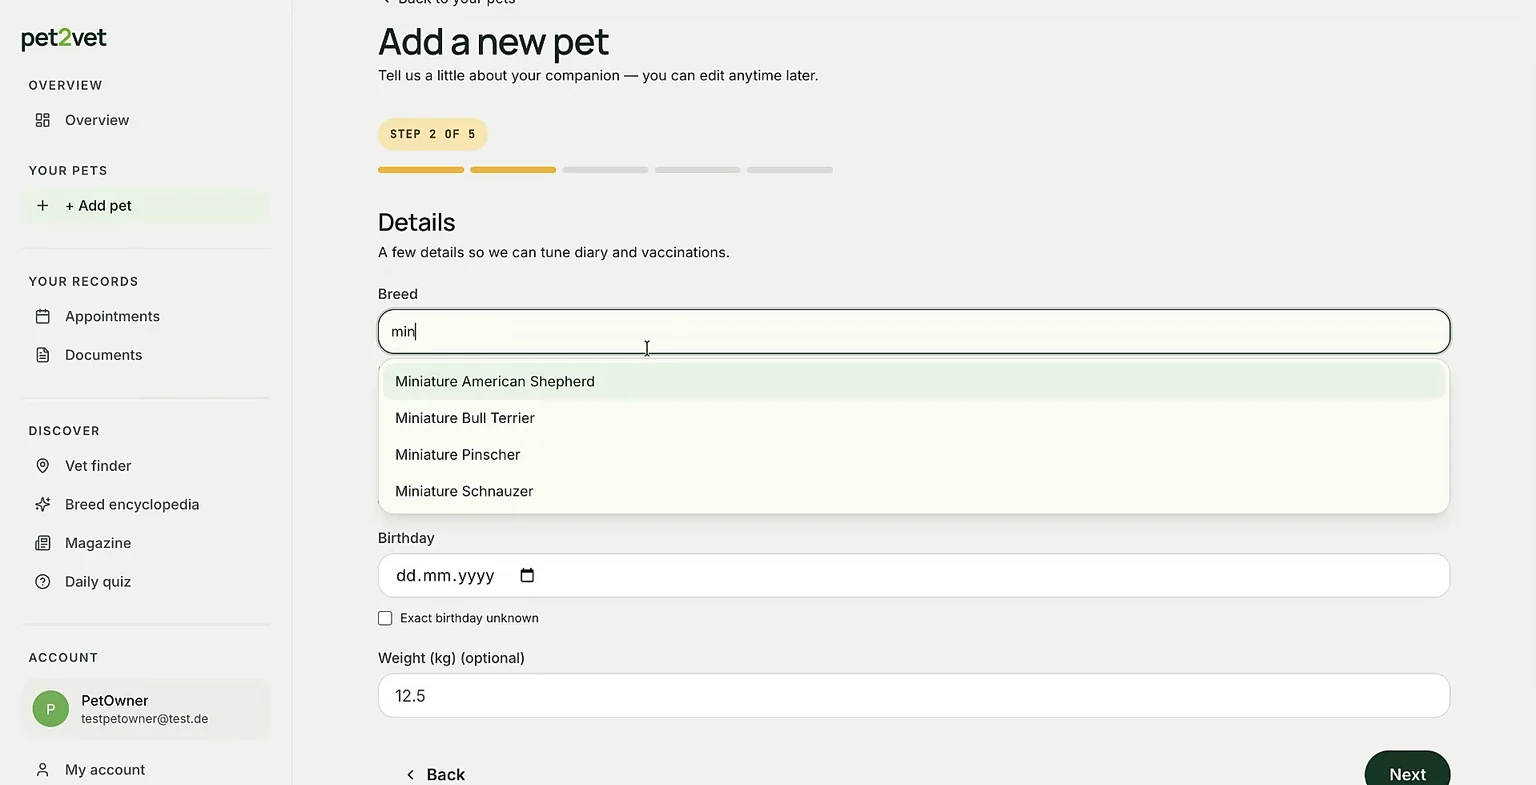
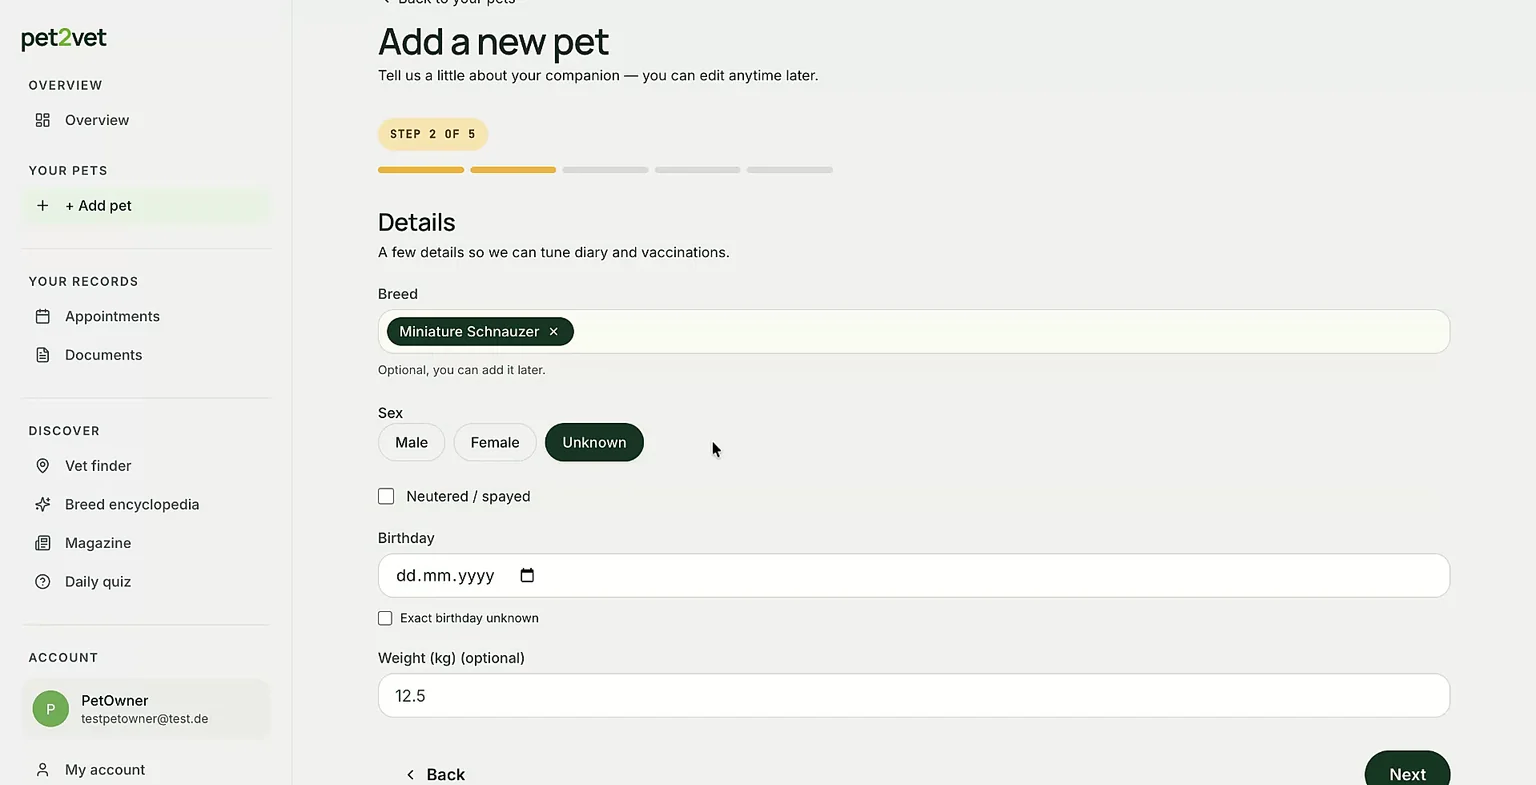
You can easily search for breeds and then select the correct breed for your pet.
Step 3: Enter identification and clinic details
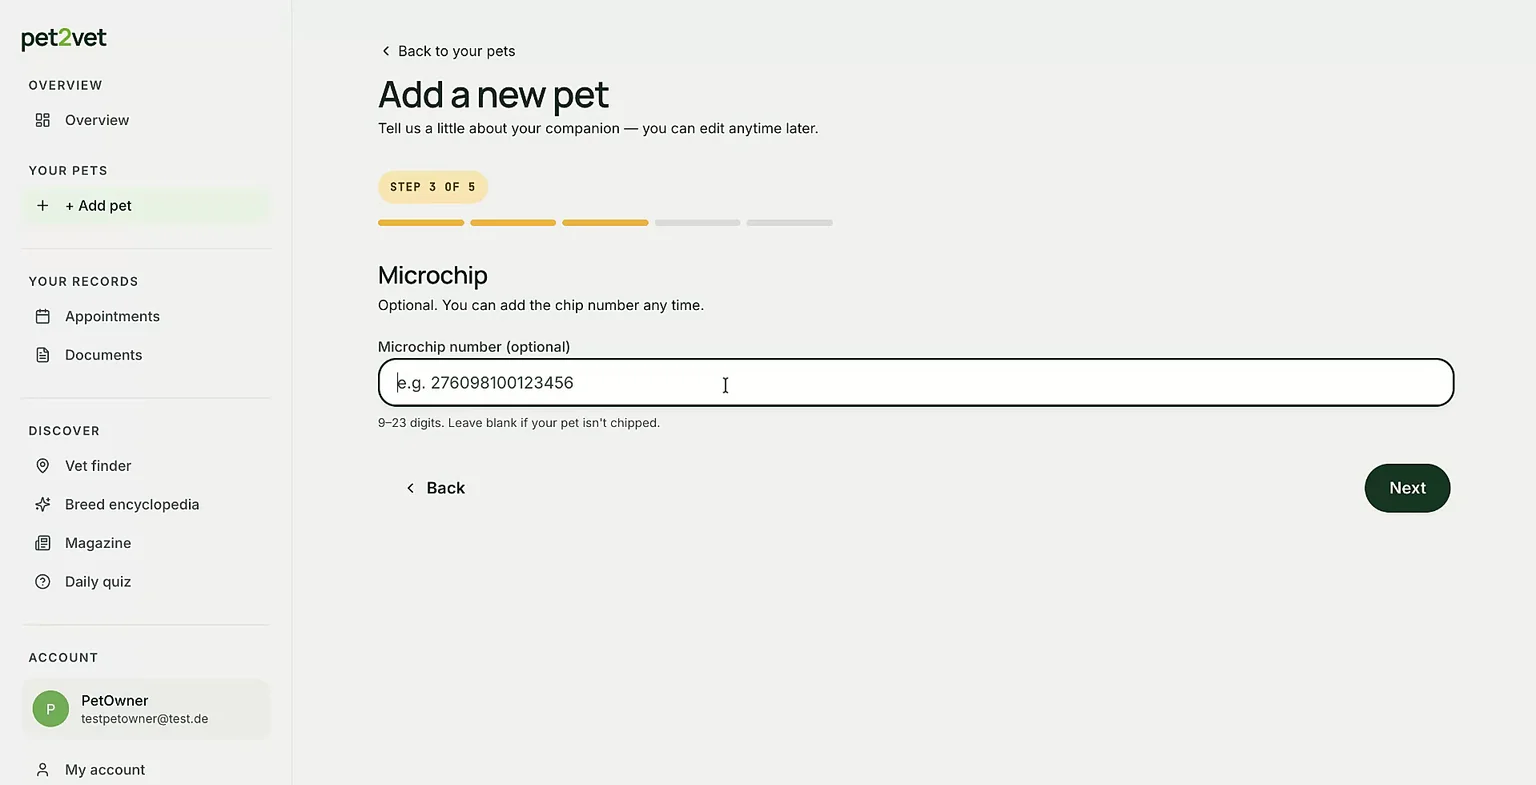
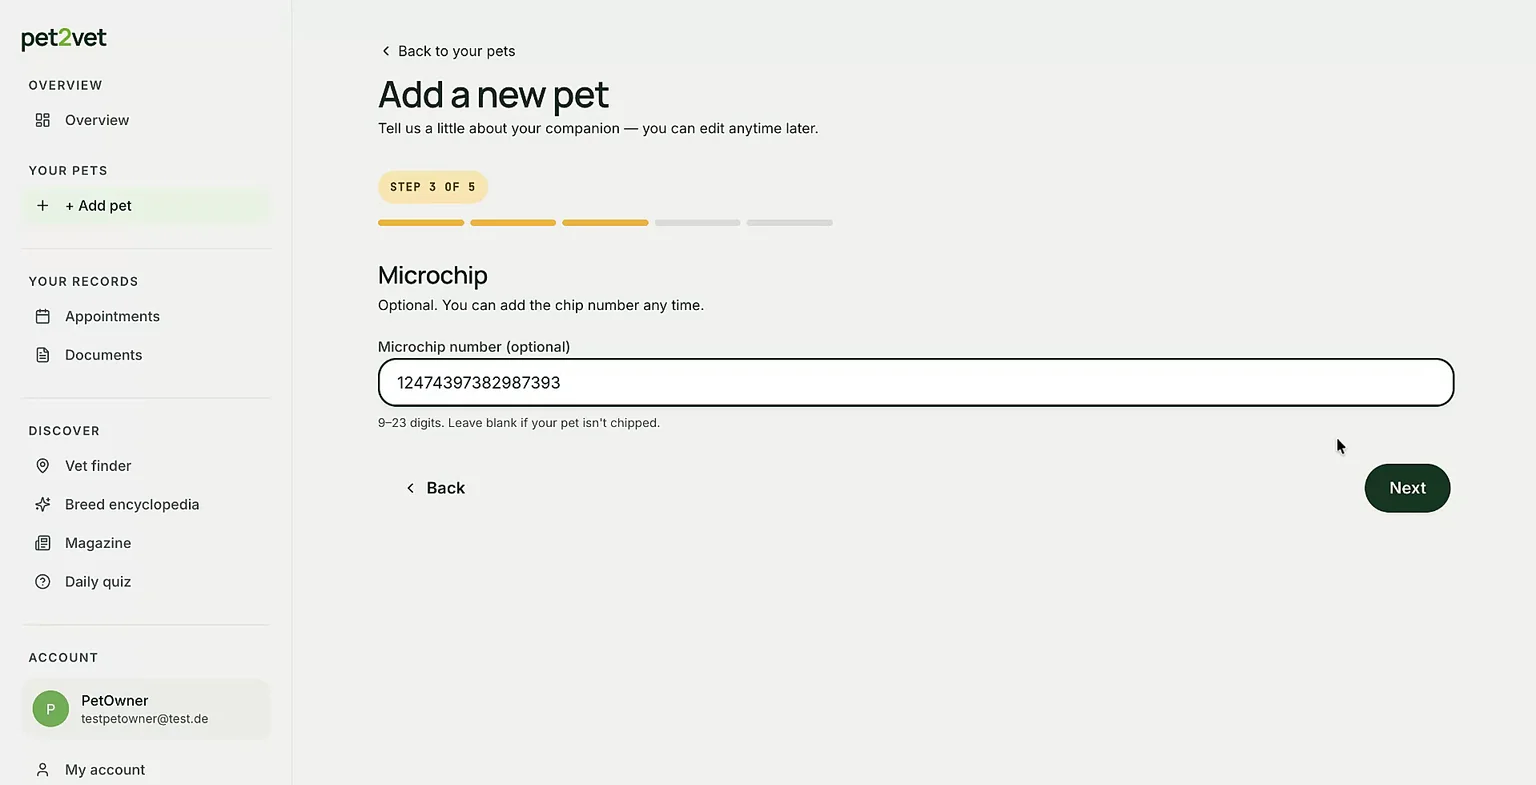
Type in your pet's microchip number in the designated field.
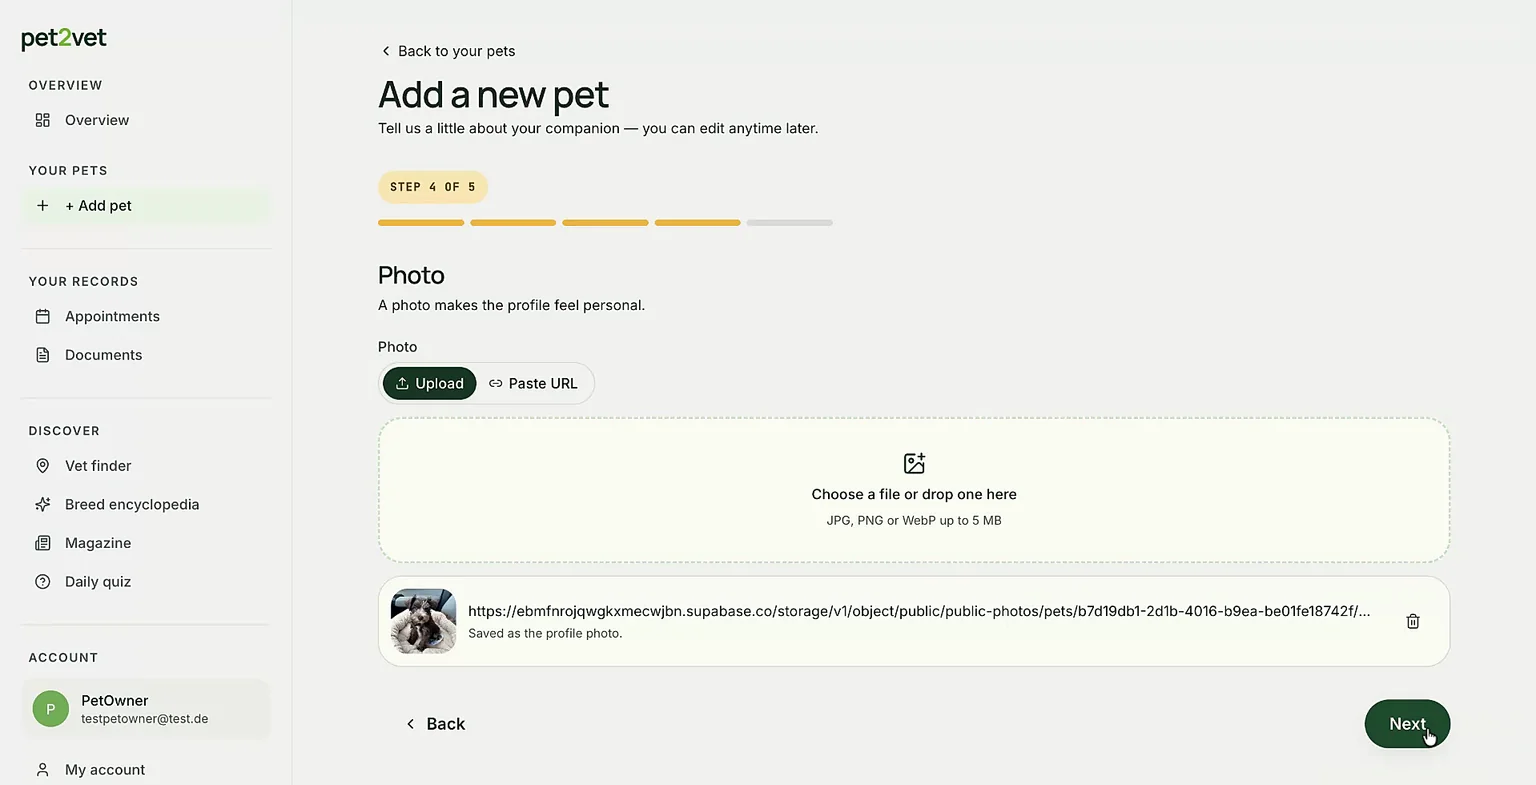
You can add a photo of your pet to complete the profile and then search for nearby clinics to link a clinic to your pet.
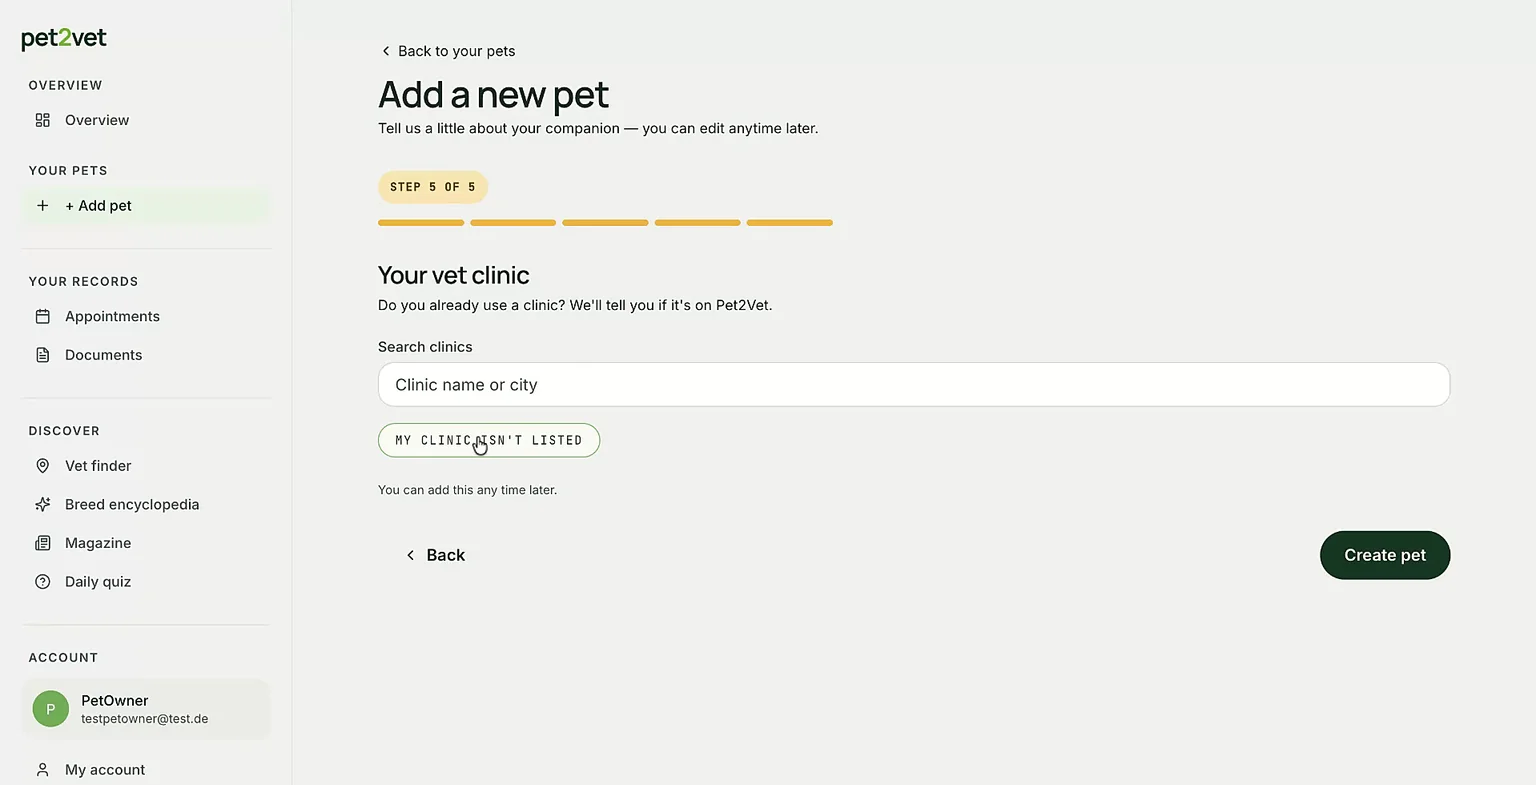
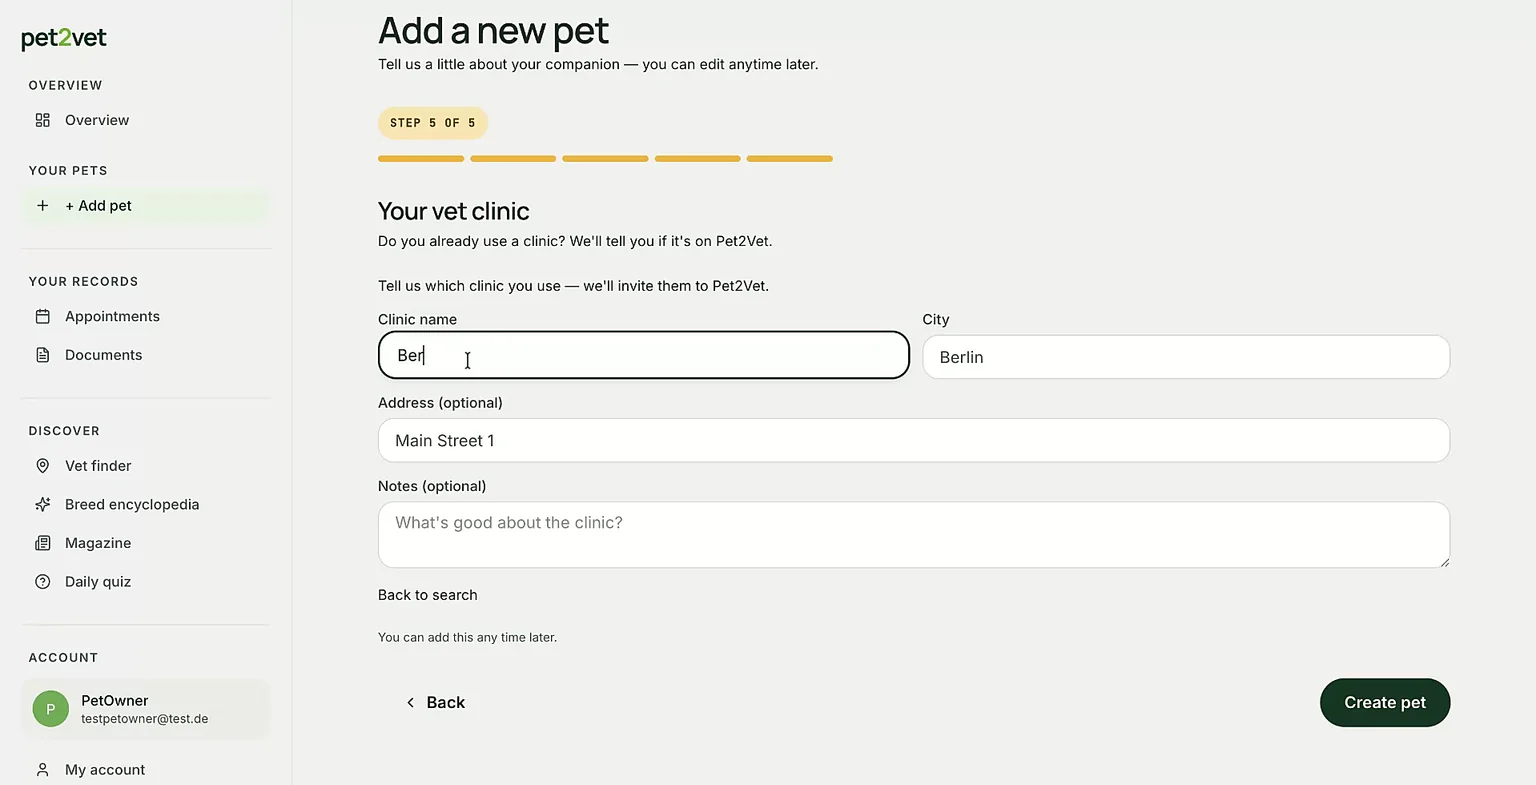
If your clinic is not listed, you can request to have your clinic added by entering its name and details.
Step 4: Search for clinics and book an appointment
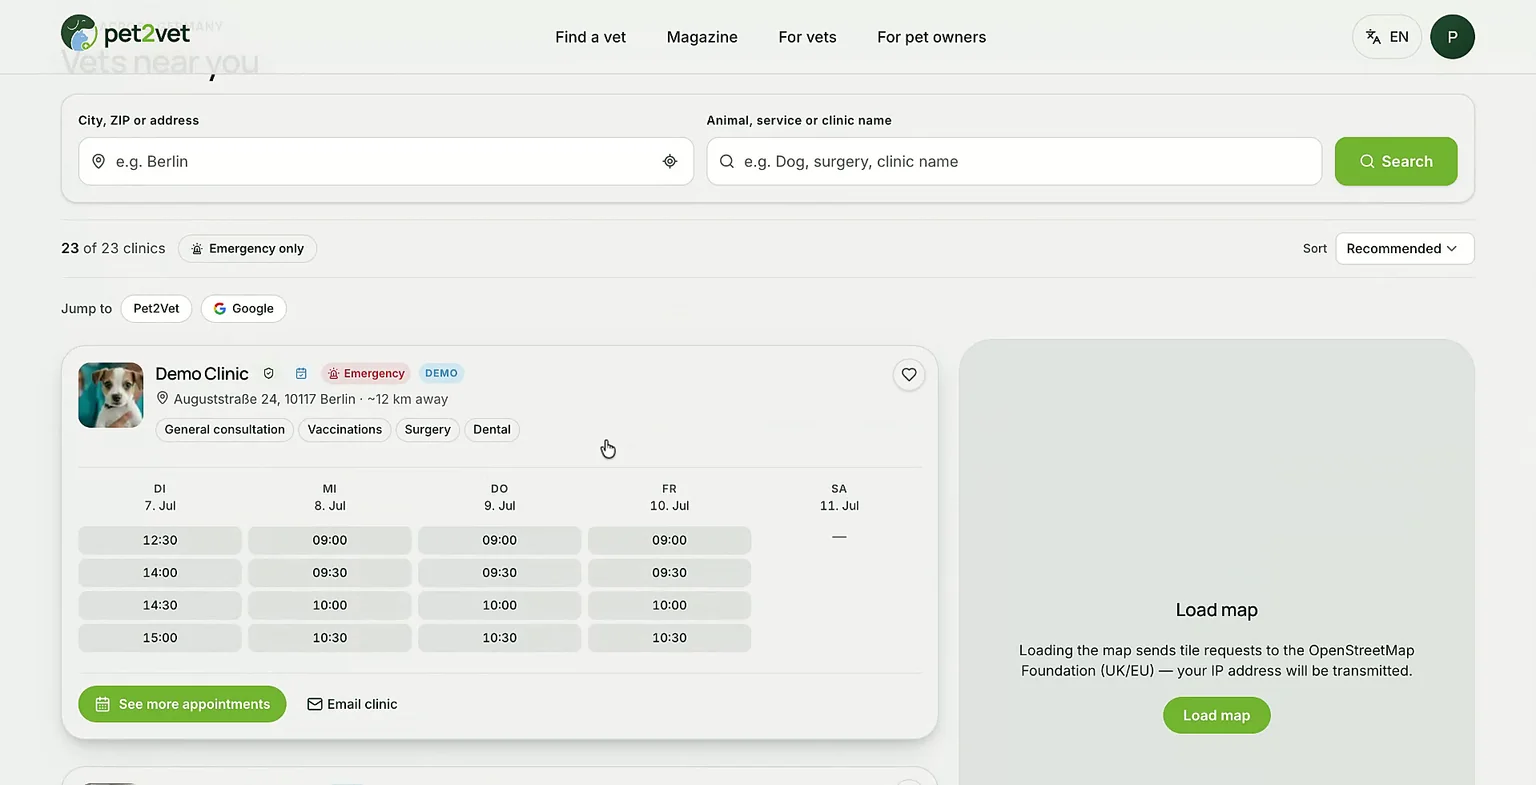
Now that your pet is added, you can easily search for vet appointments.
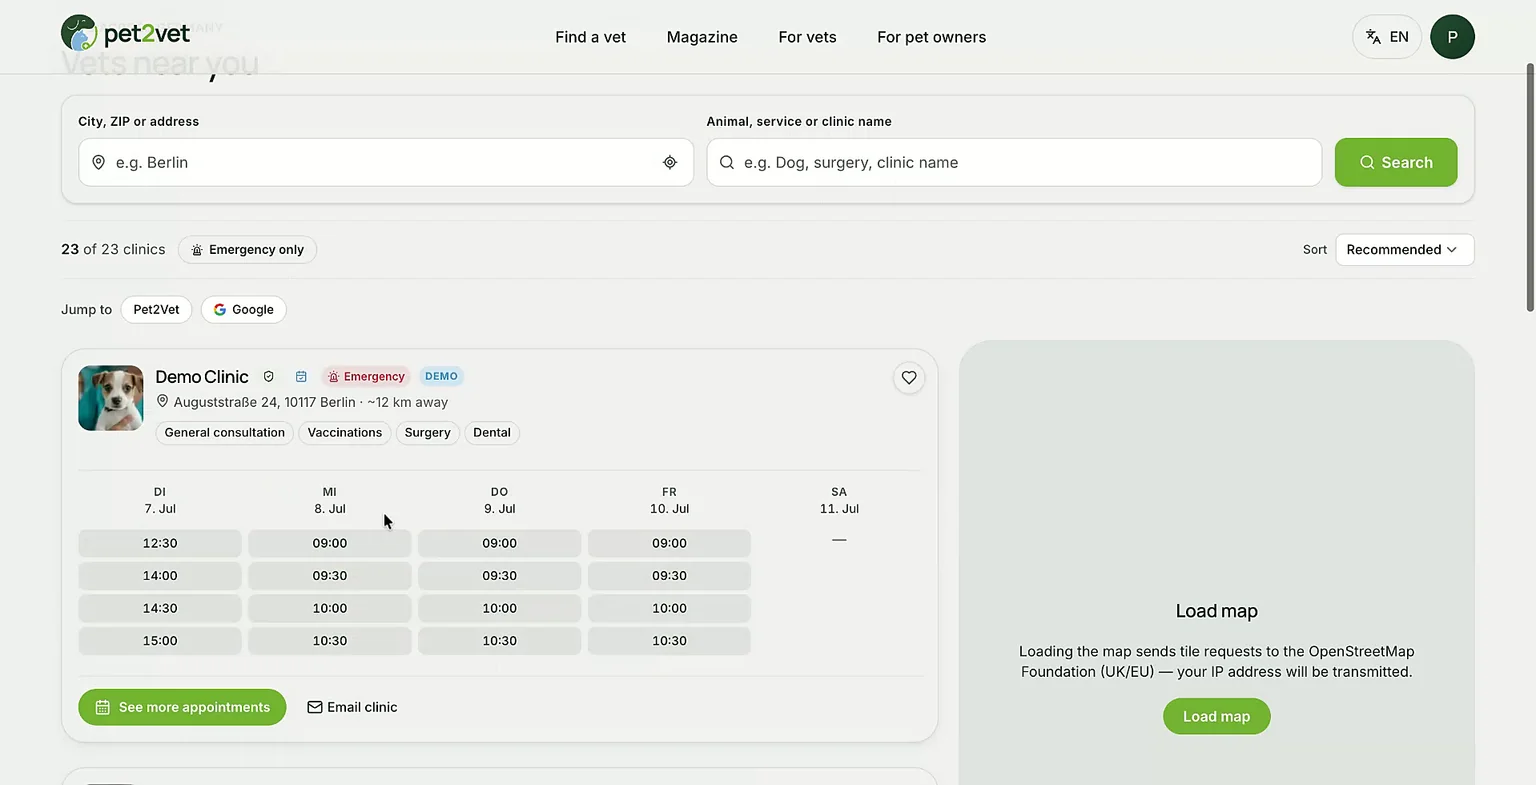
To book an appointment, click on the nearest and best clinic for you from the search results.
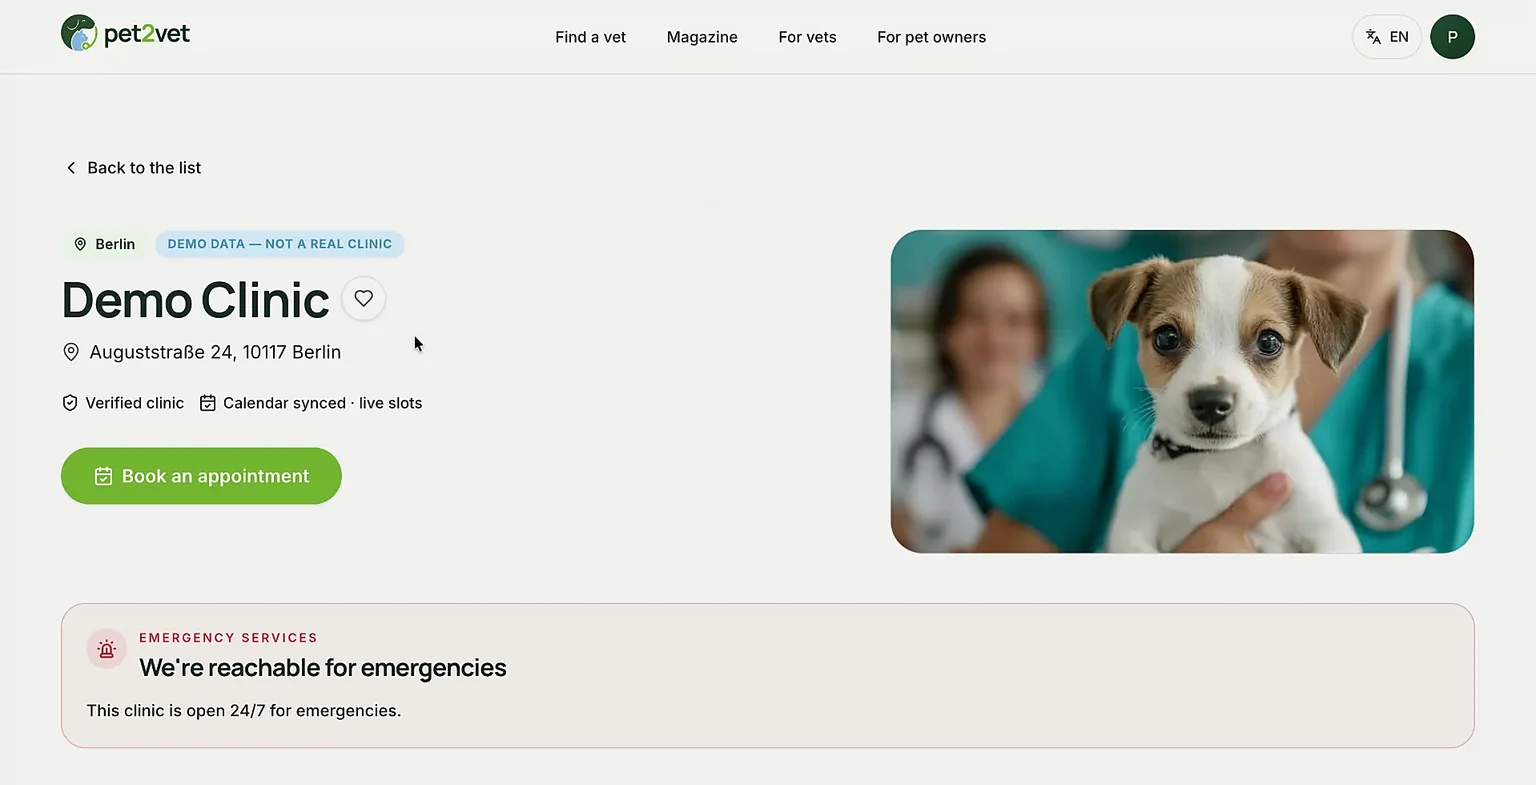
You can mark the clinic as a favorite so it's easy to find next time, and then select which pet the appointment is for (especially useful if you have multiple pets).
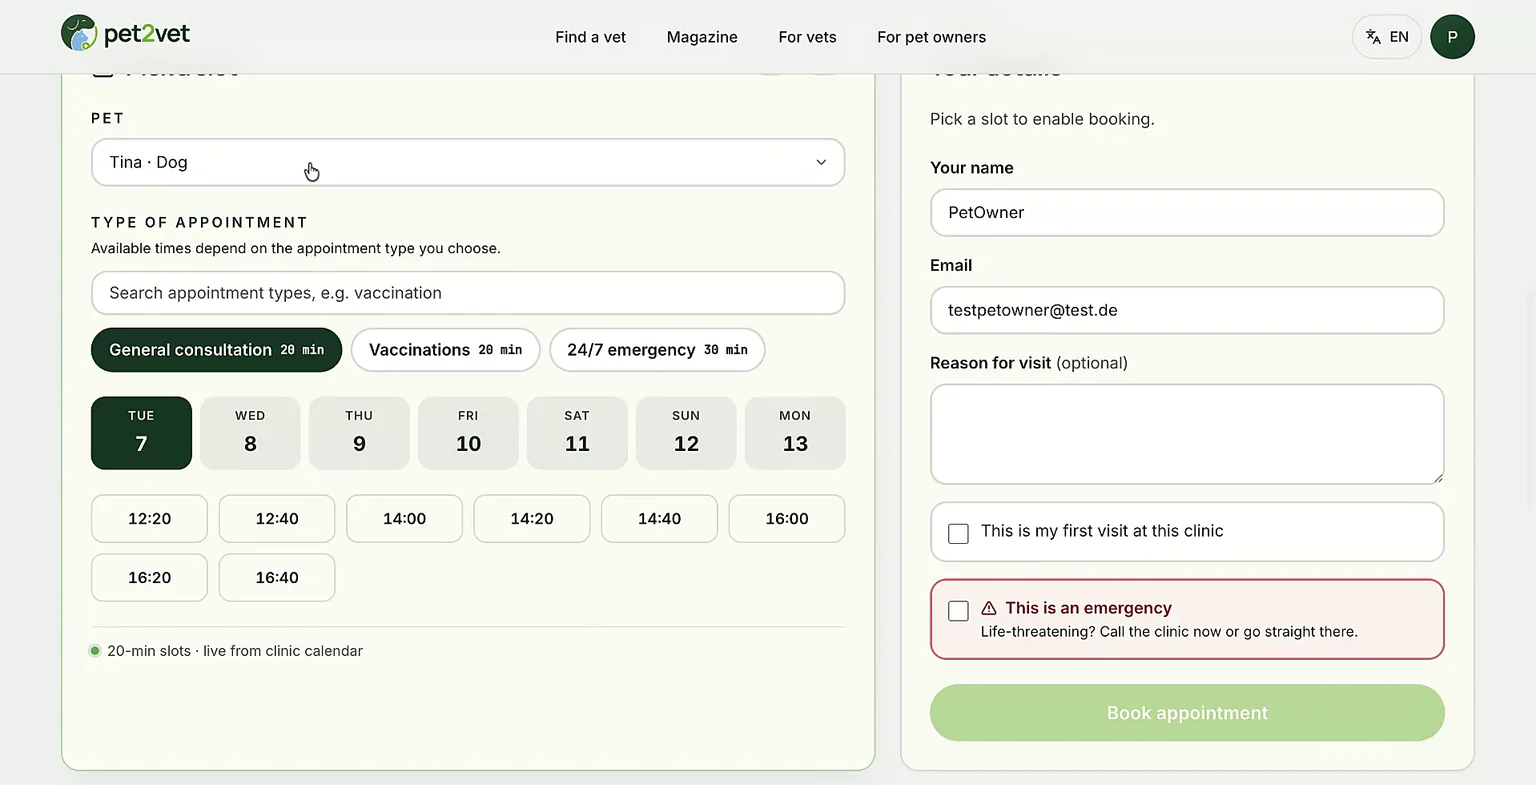
Search for the appointment type you need (for example, check-up or vaccination) and add the appropriate appointment type.
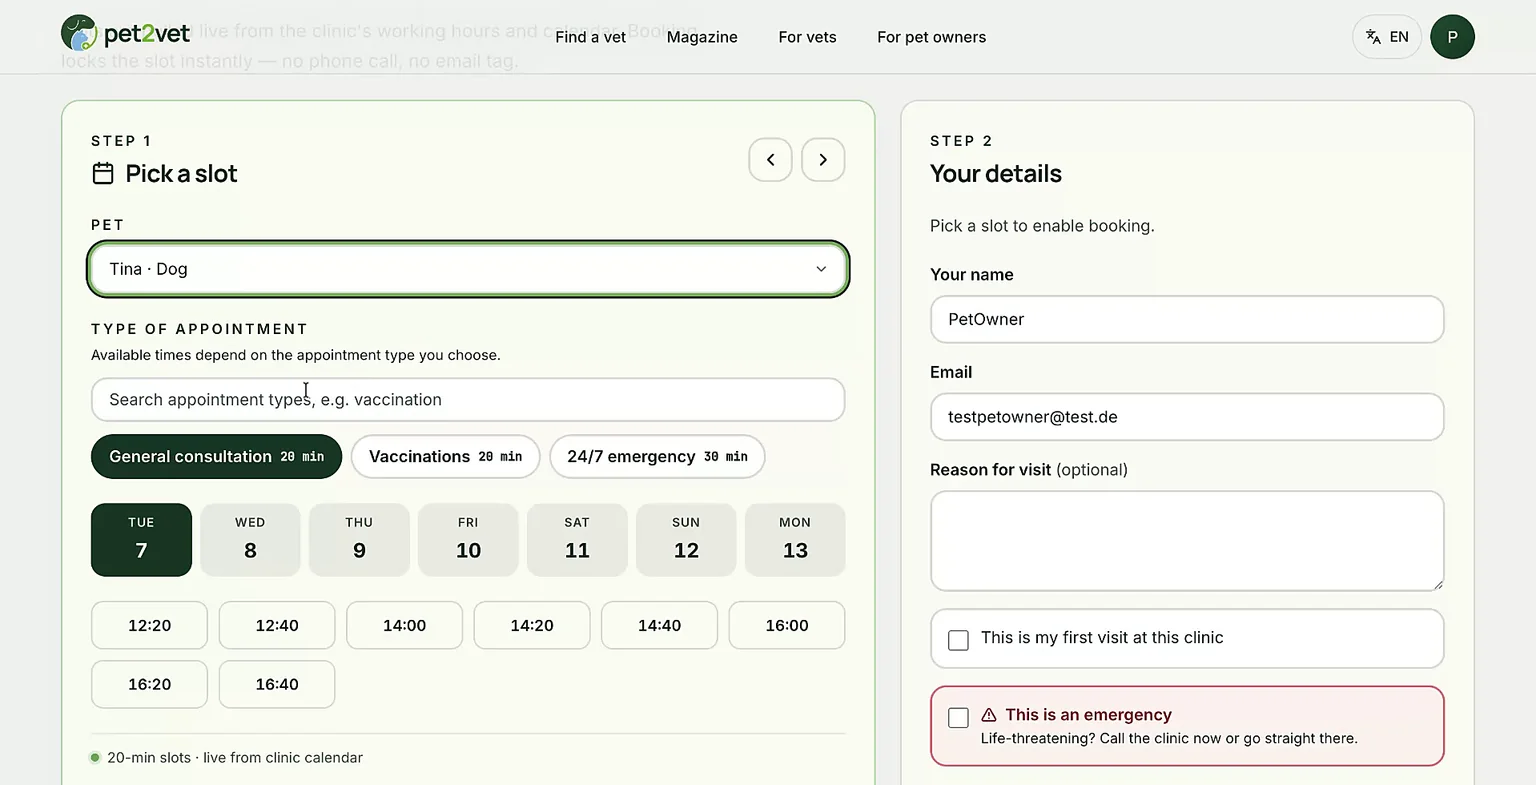
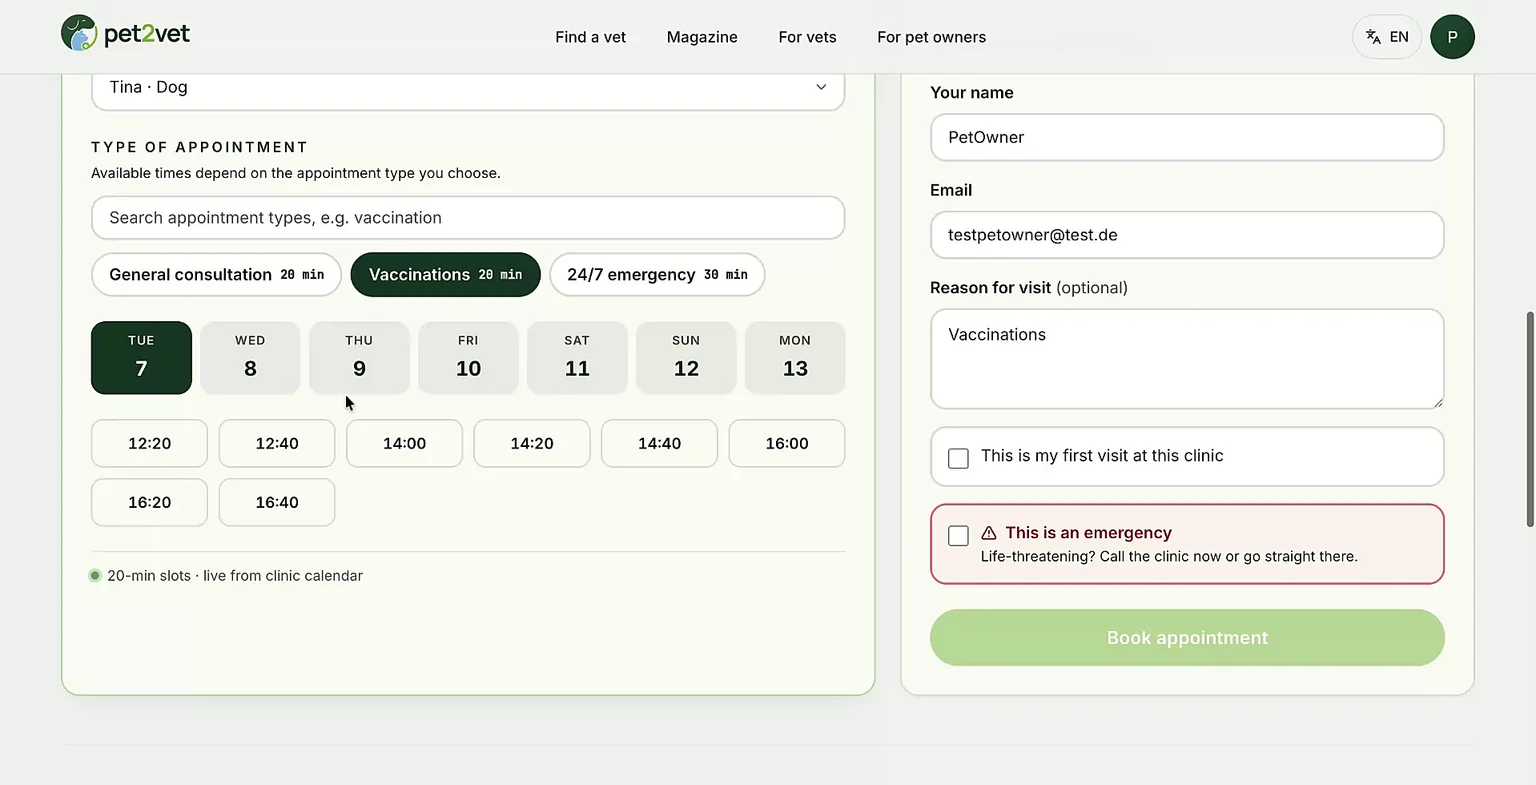
Pick the preferred day for the appointment, then choose a suitable time slot. Your information will be filled in automatically.
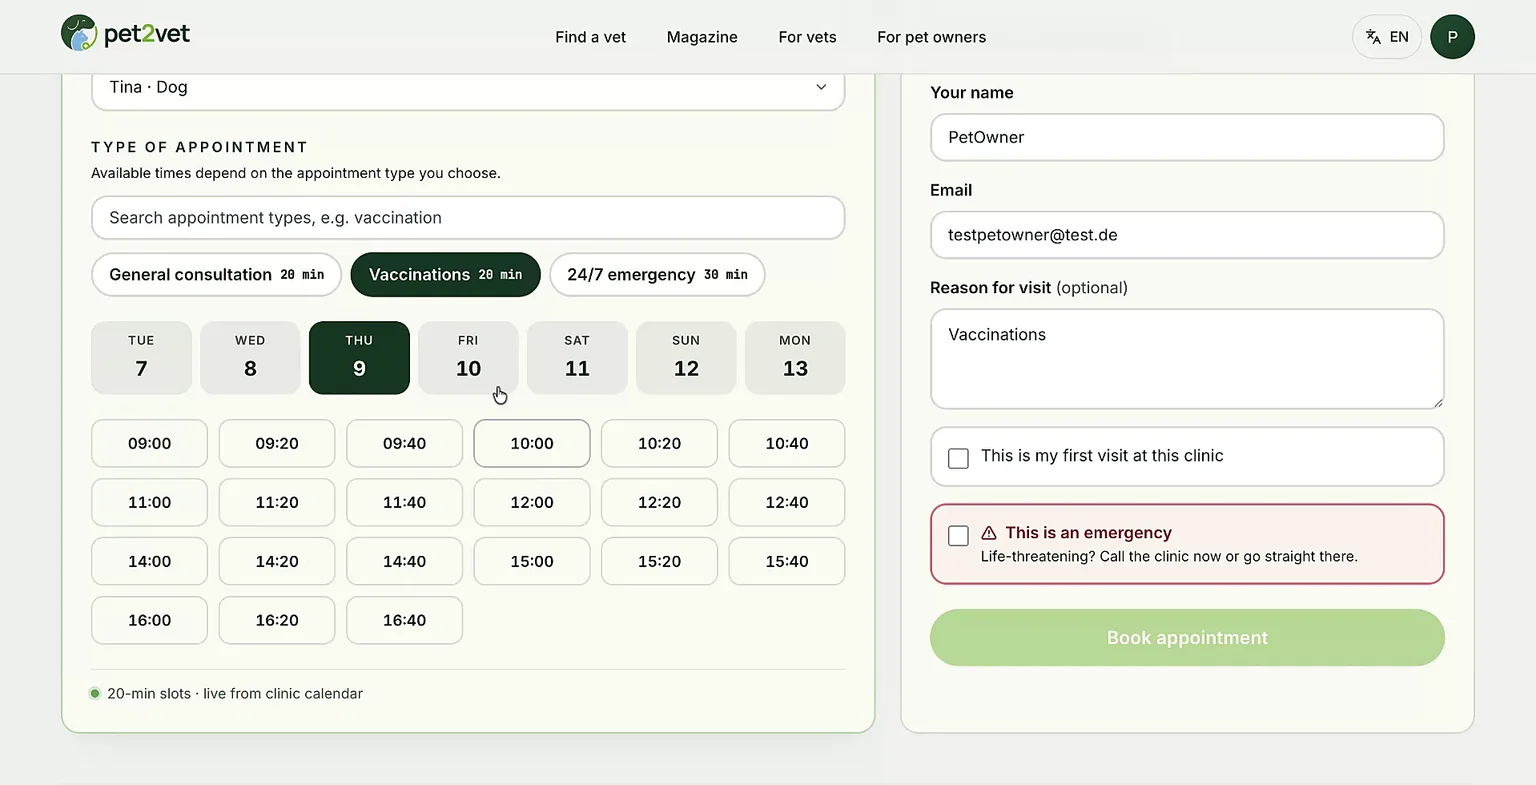
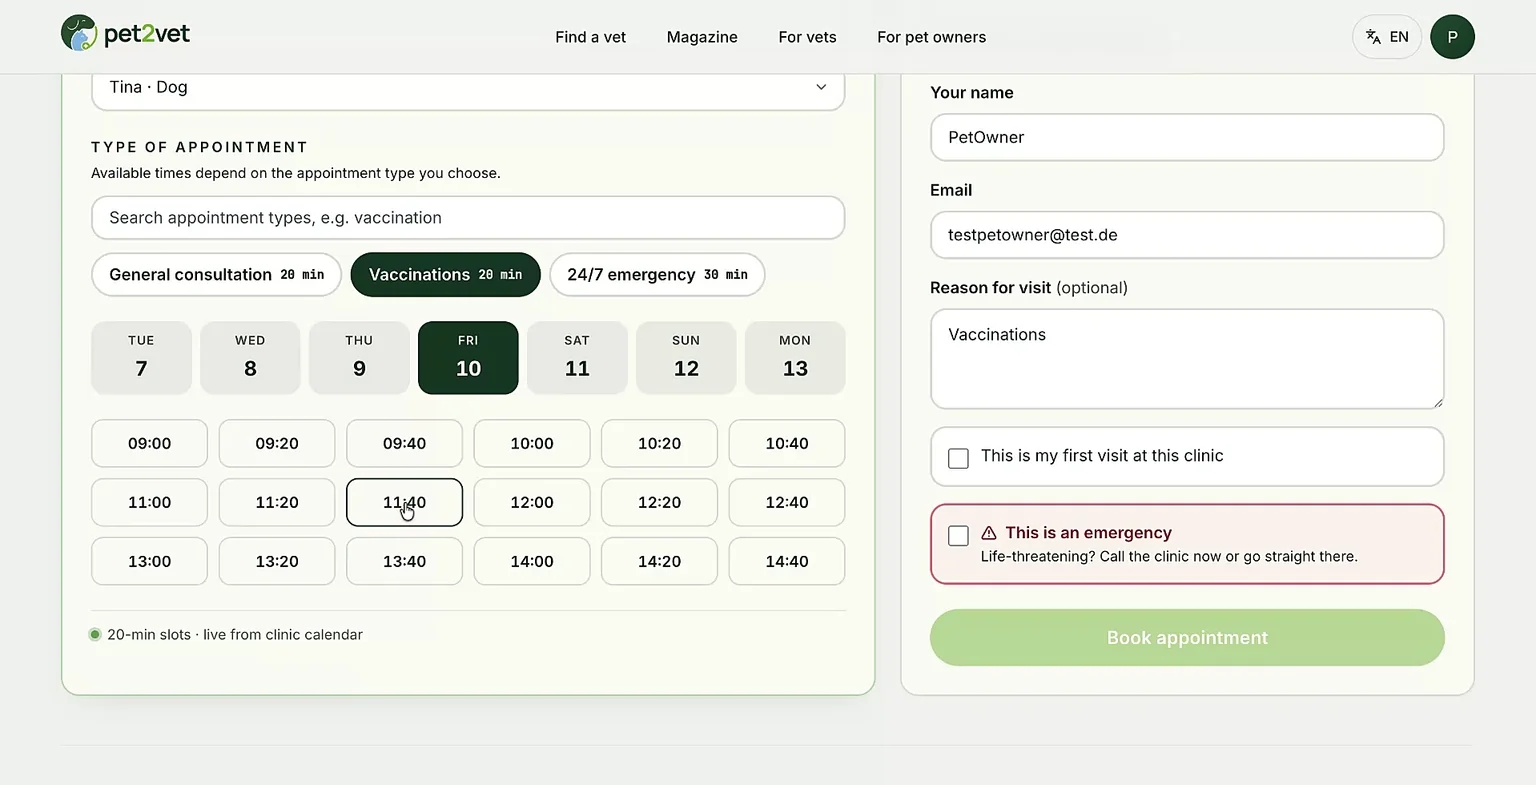
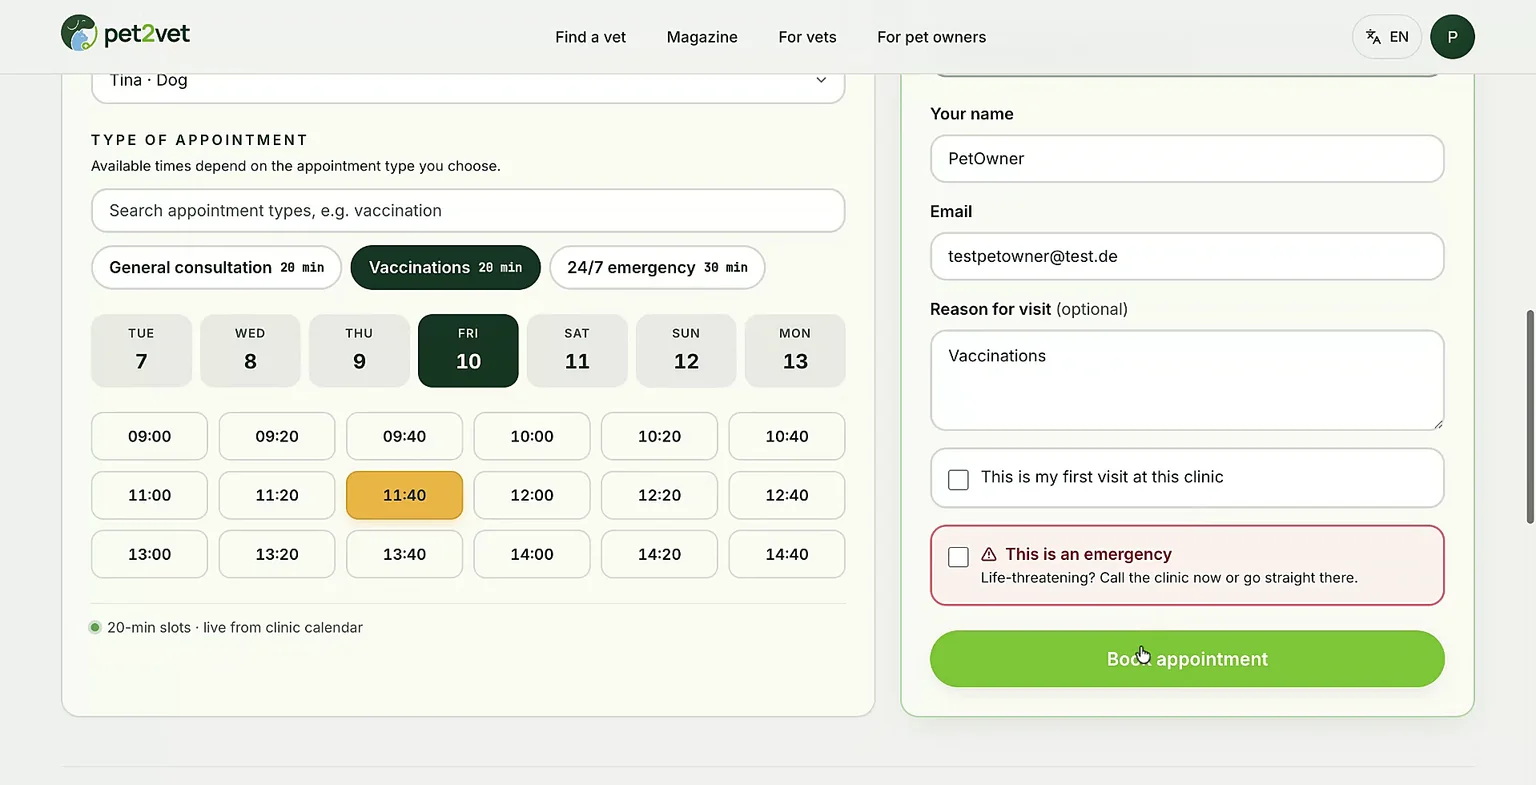
Once confirmed, your appointment is booked. You can also add it to your calendar via an ICS file.
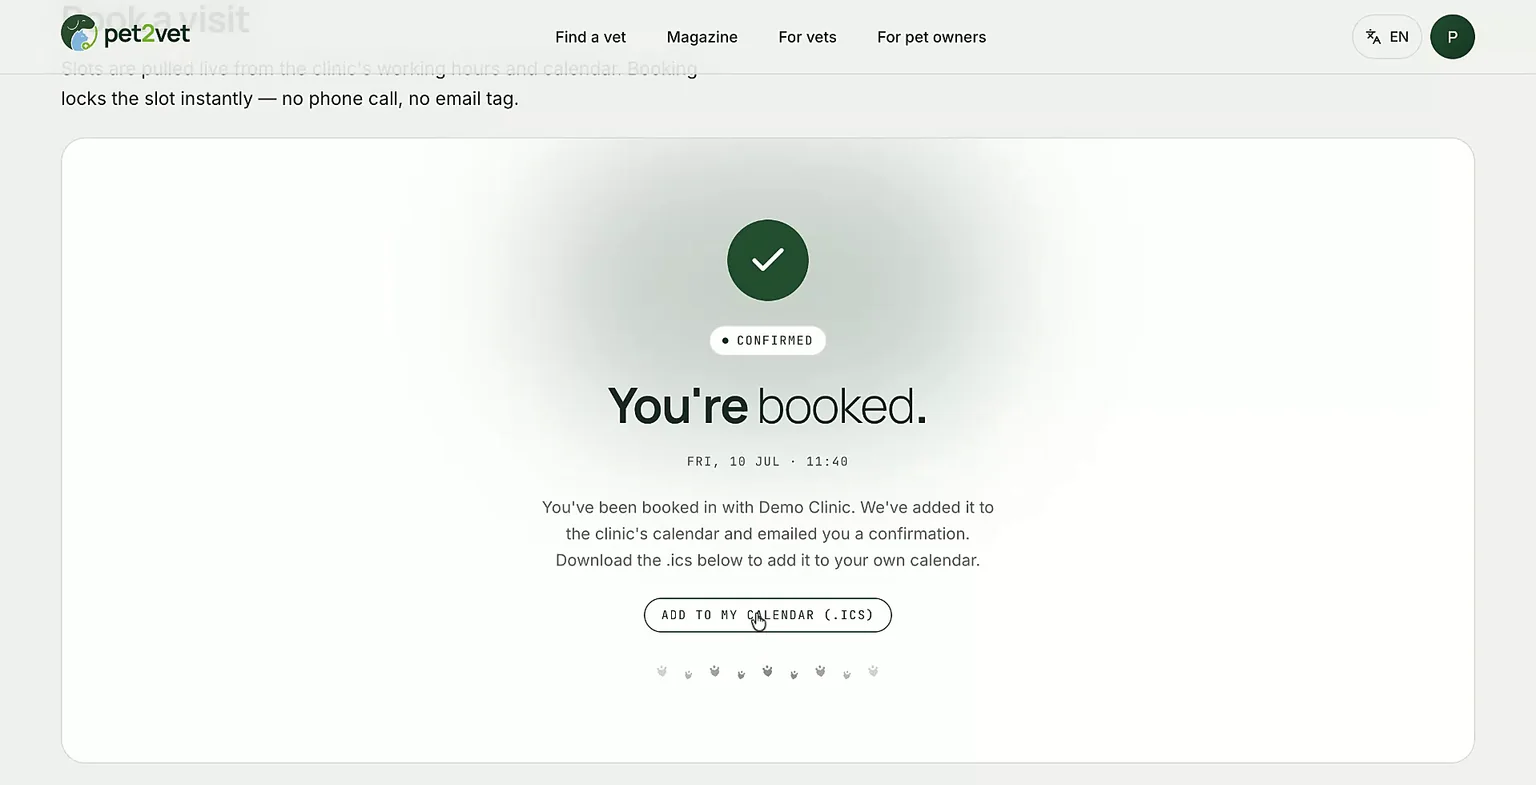
Step 5: Review your dashboard and appointments
Return to your dashboard to see your pet (for example, Tina) in your pet collection.
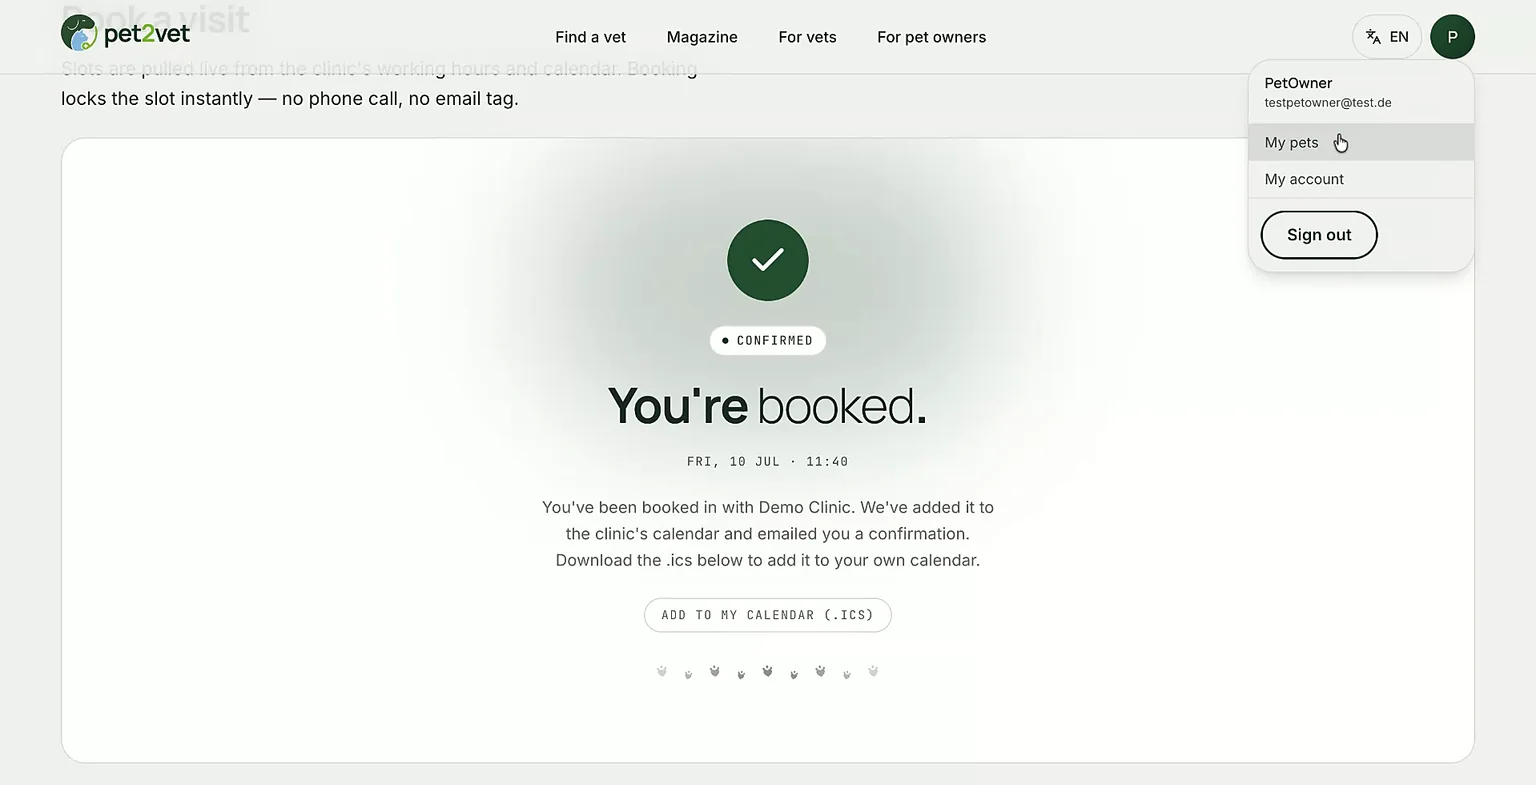
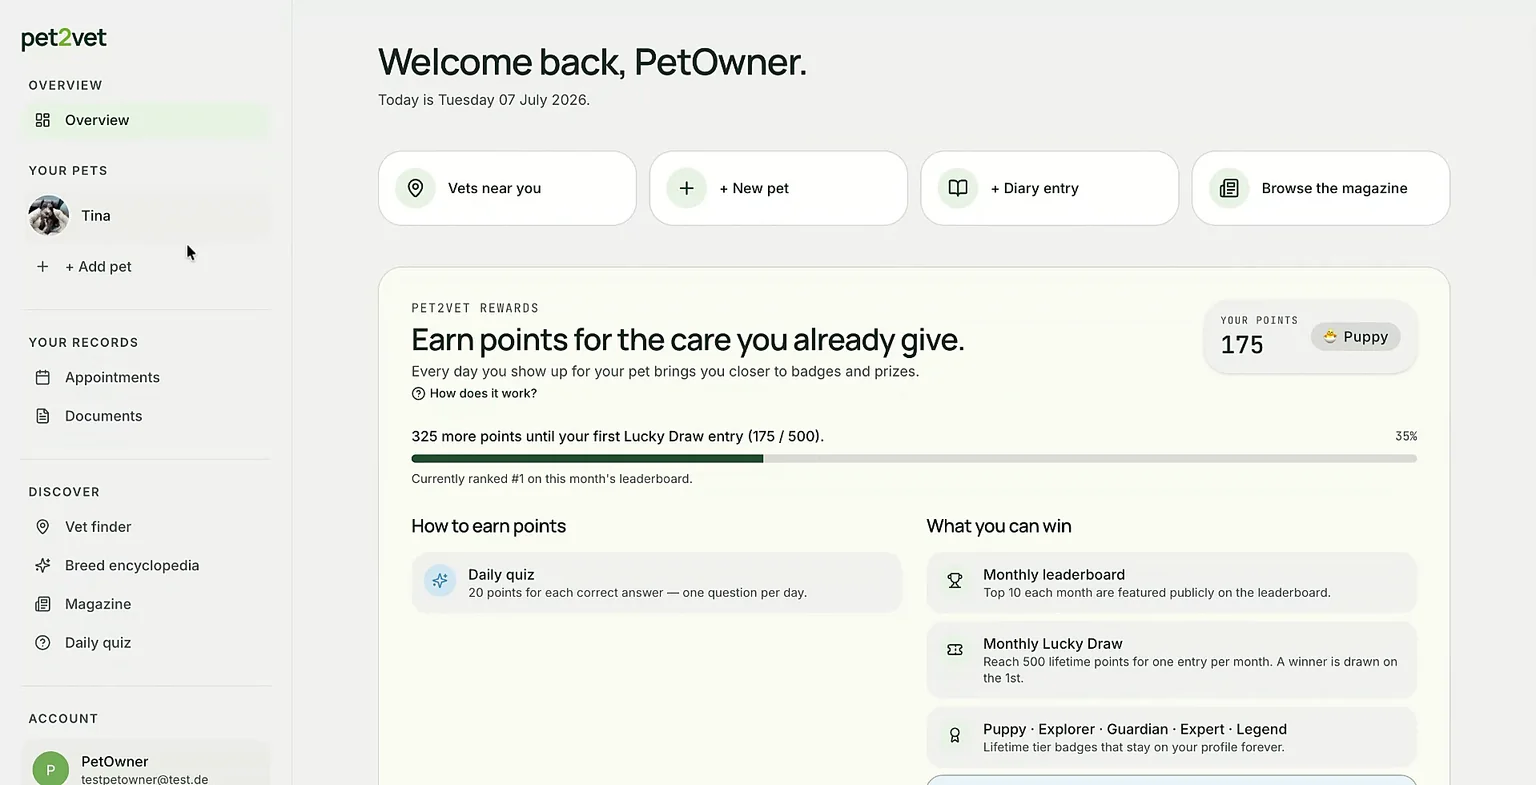
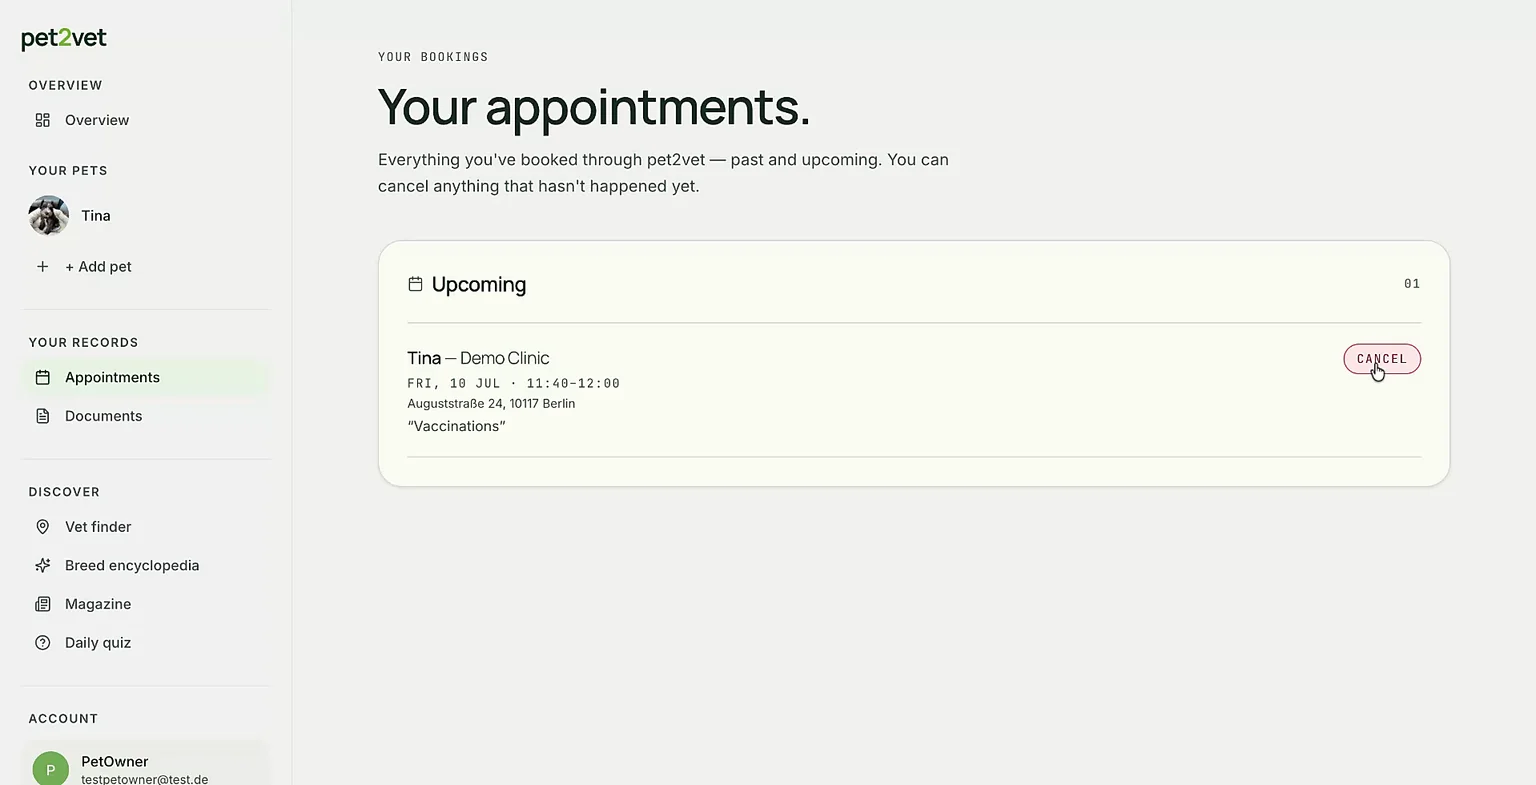
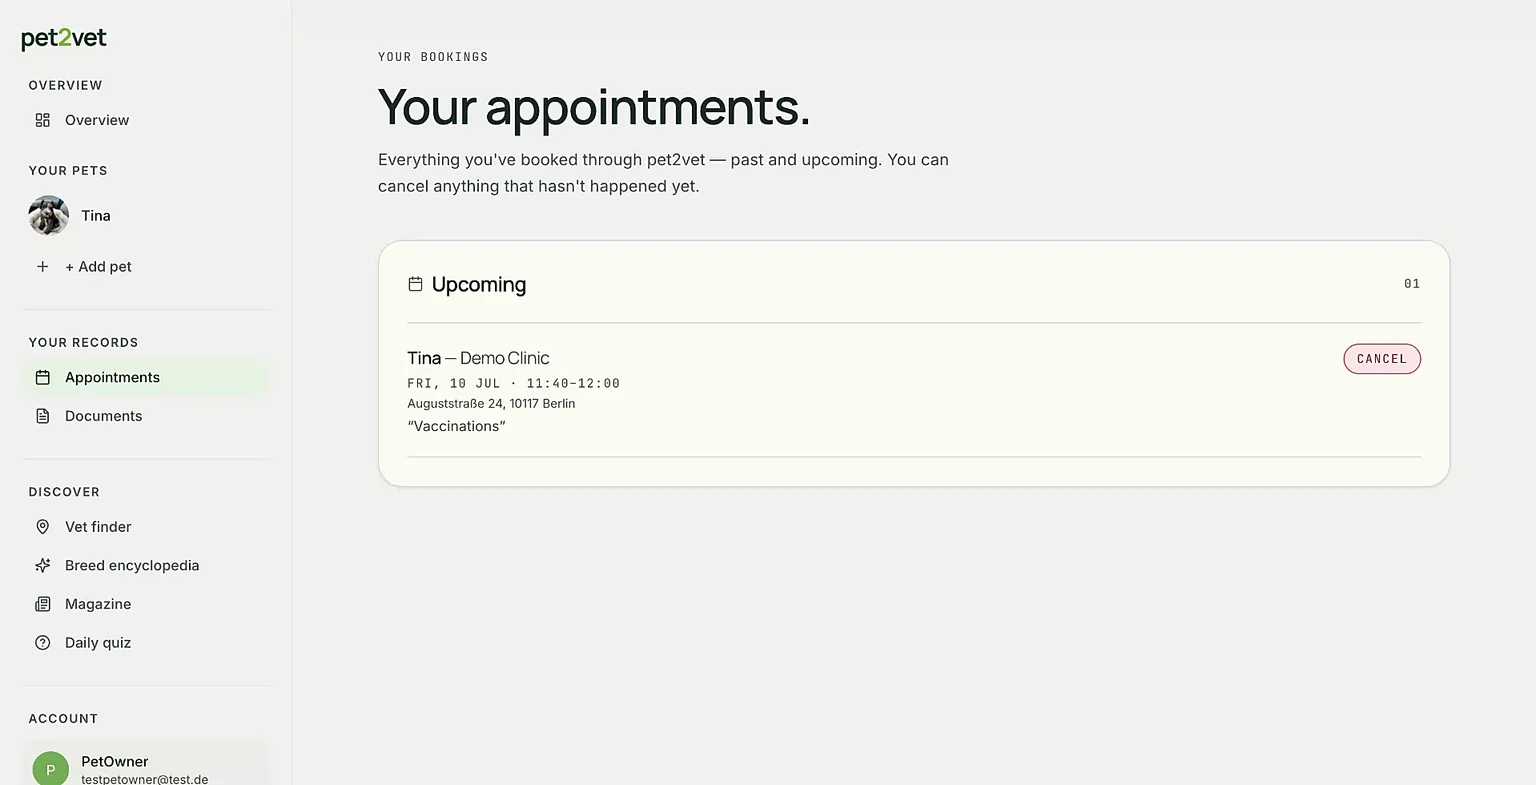
You can also open the Appointments section to see the newly booked appointment. If needed, you can cancel the appointment from here.
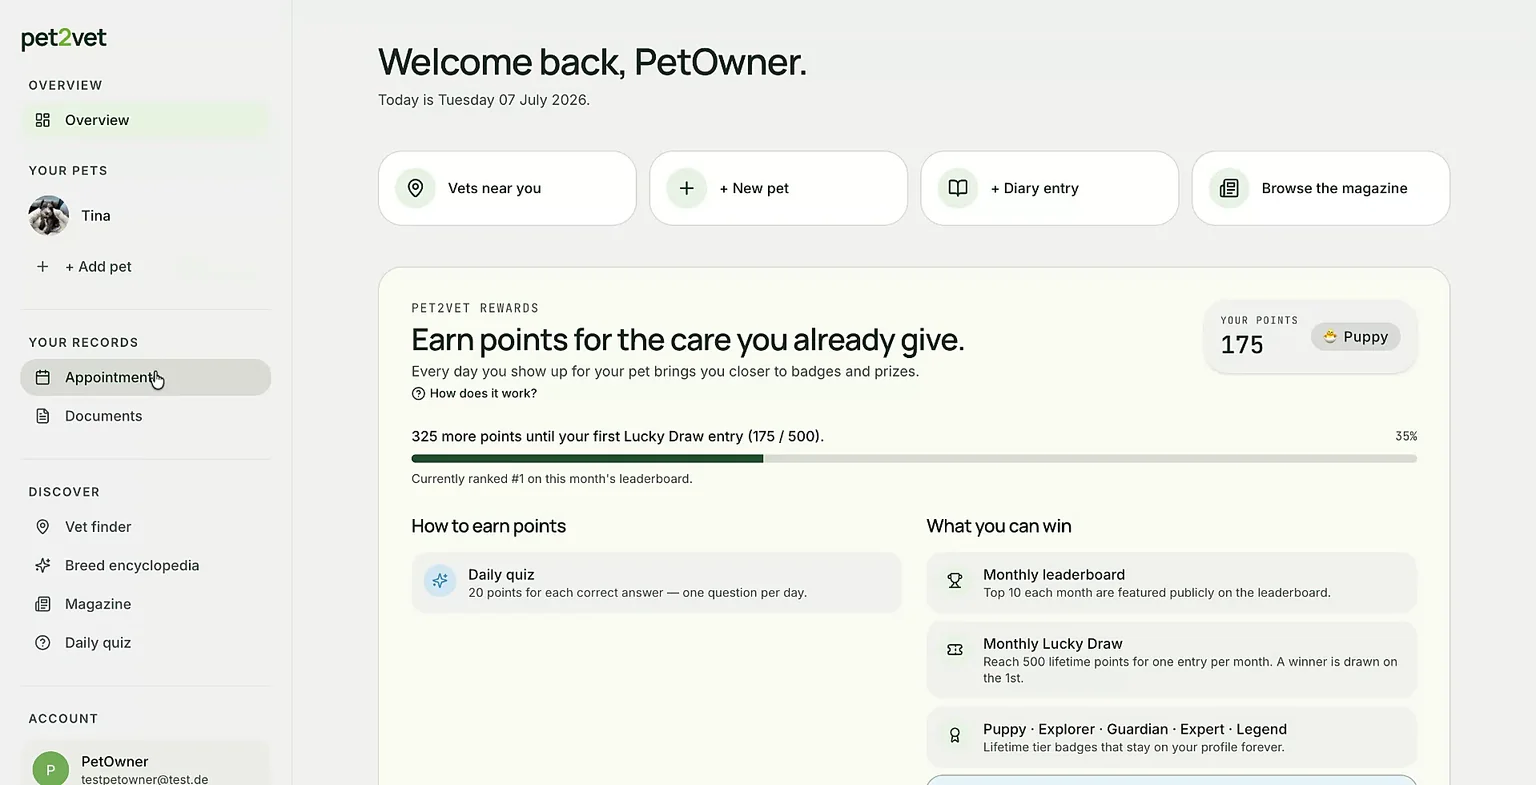
Step 6: View pet overview and add diary entries
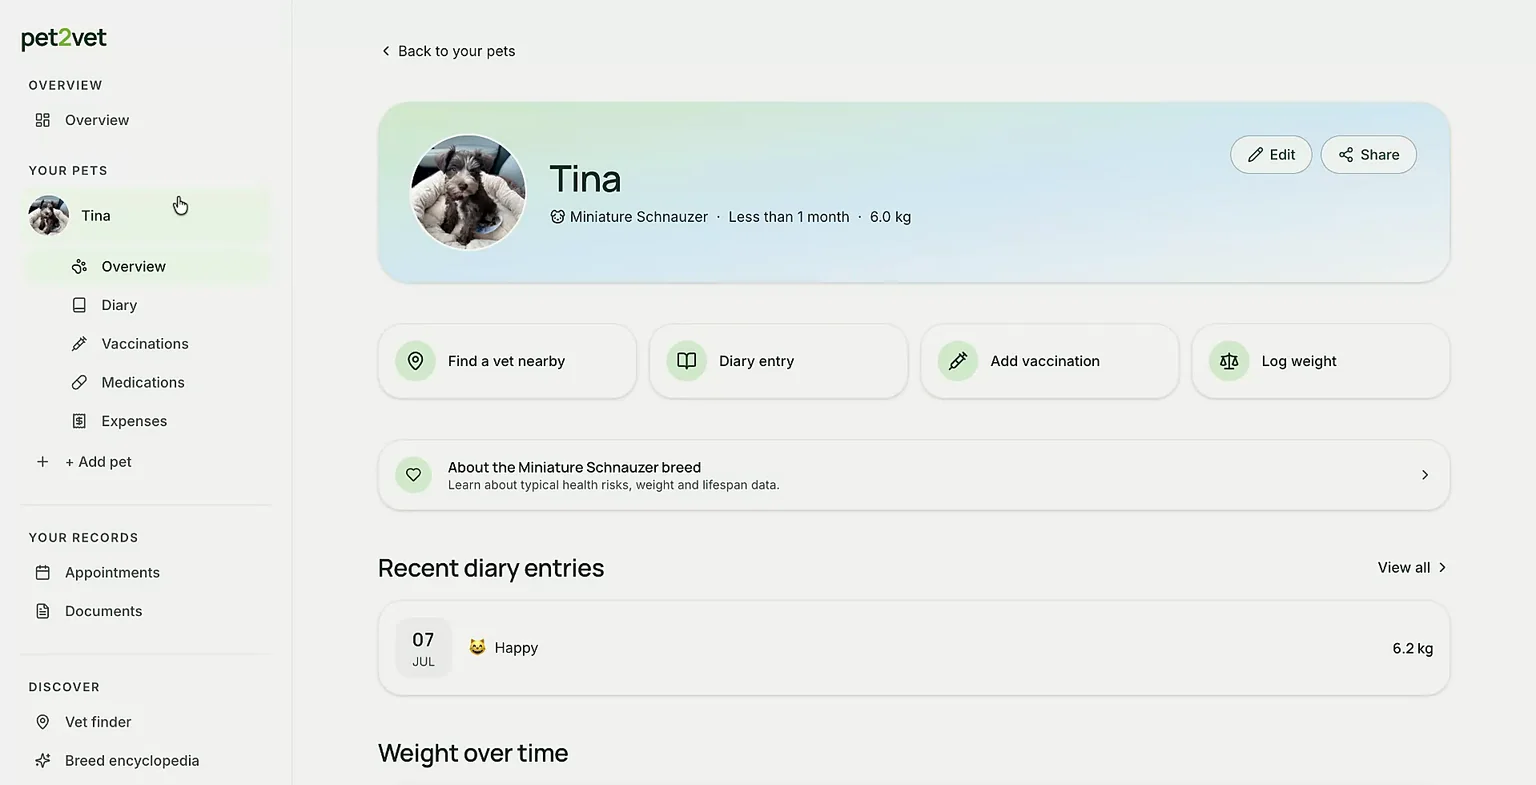
In your pet's overview, you can see all key information such as microchip details, weekly summaries, and spending information.
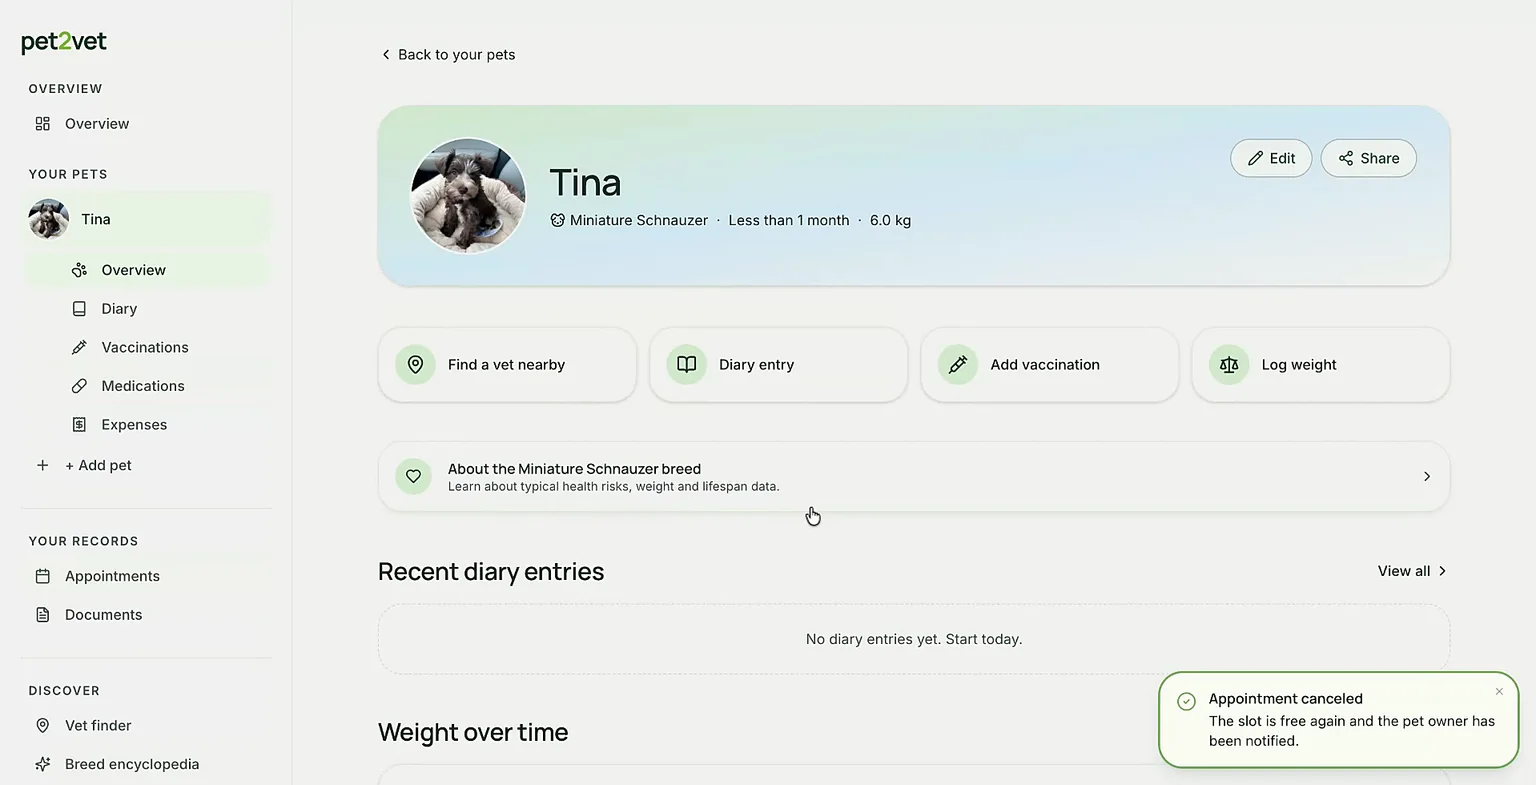
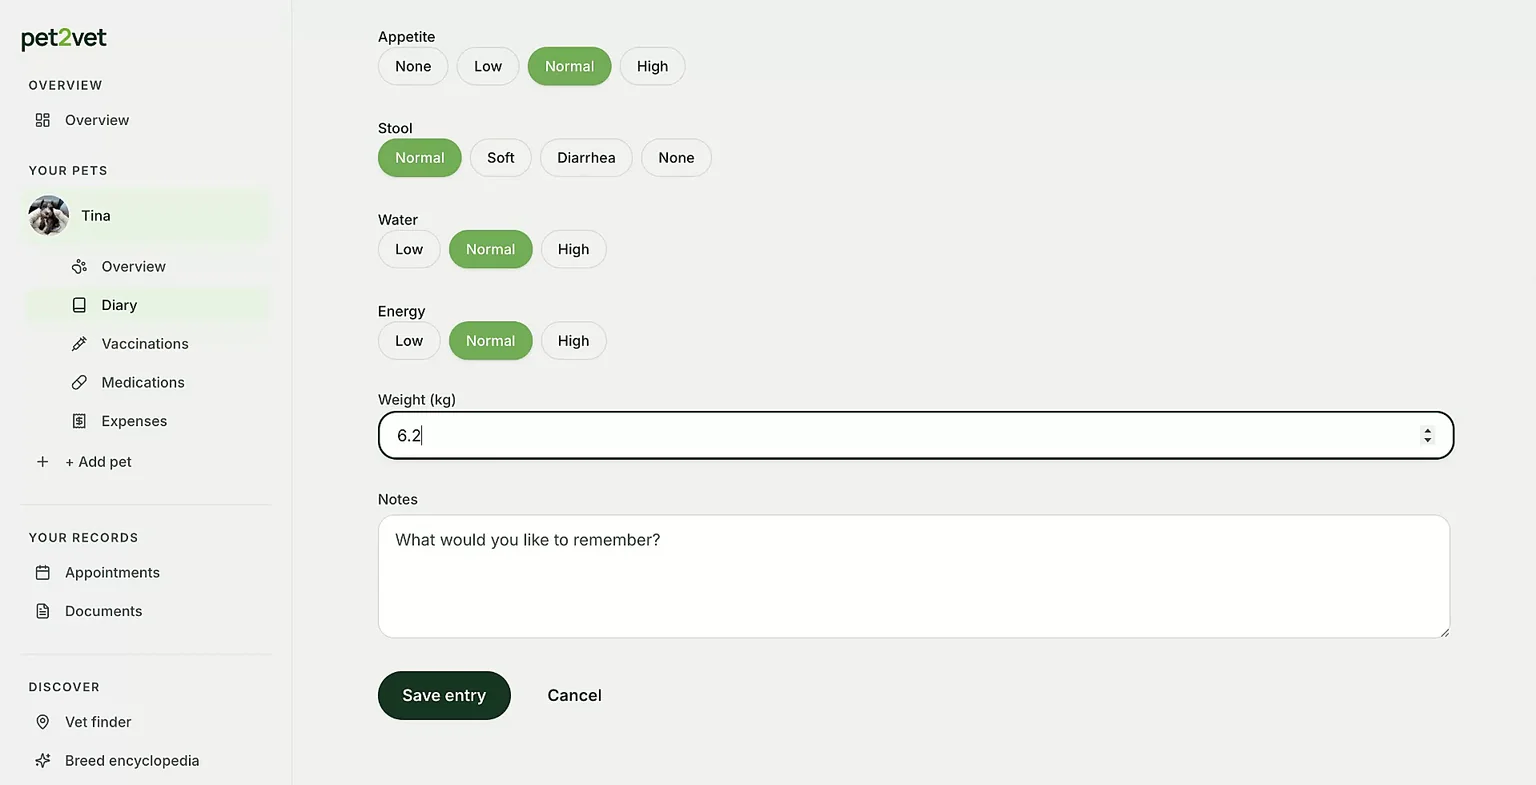
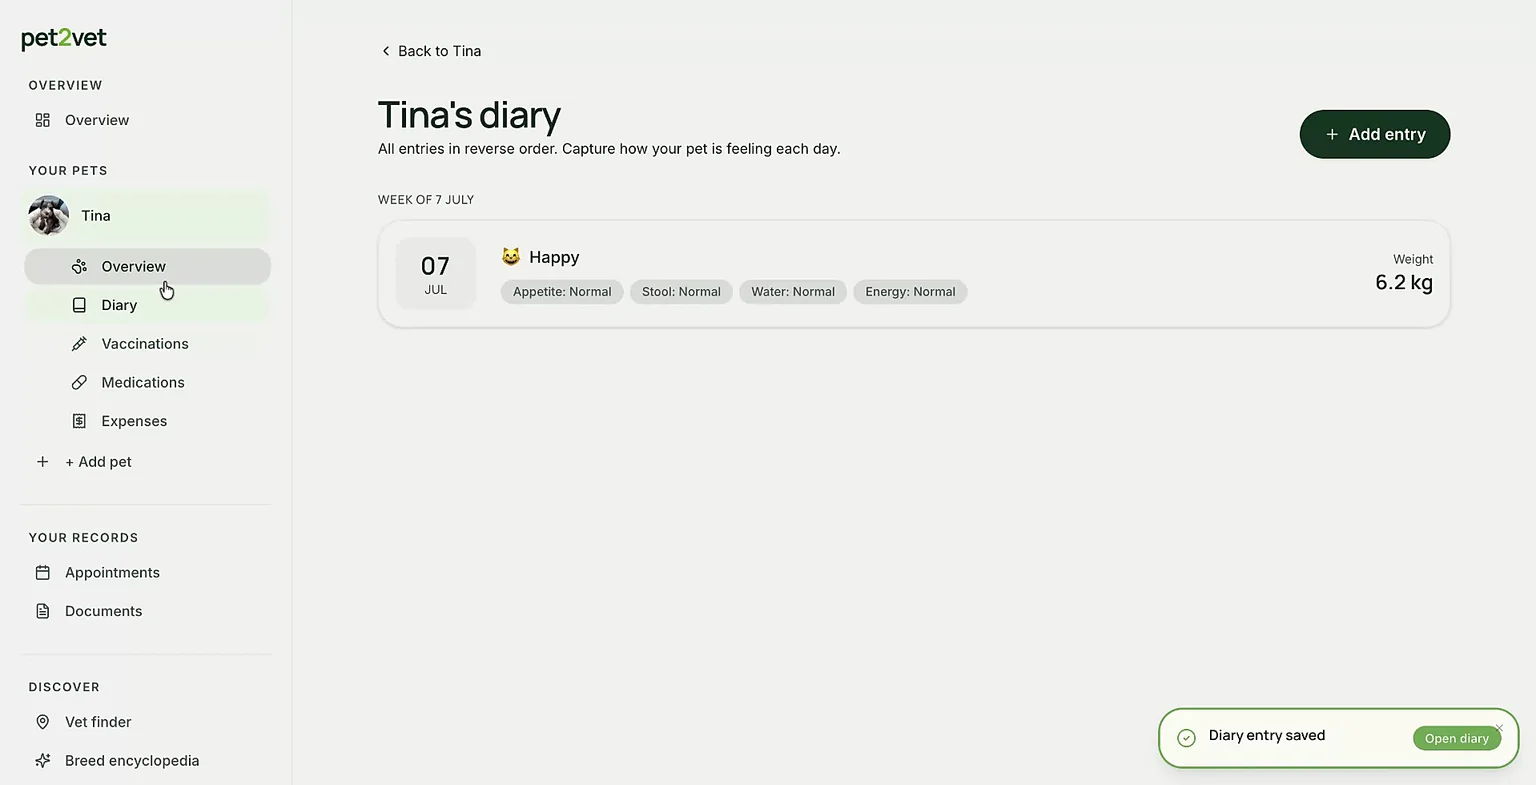
If you want to add a diary entry (for example, for Tina) to help track her health, open the diary section and add the relevant information.
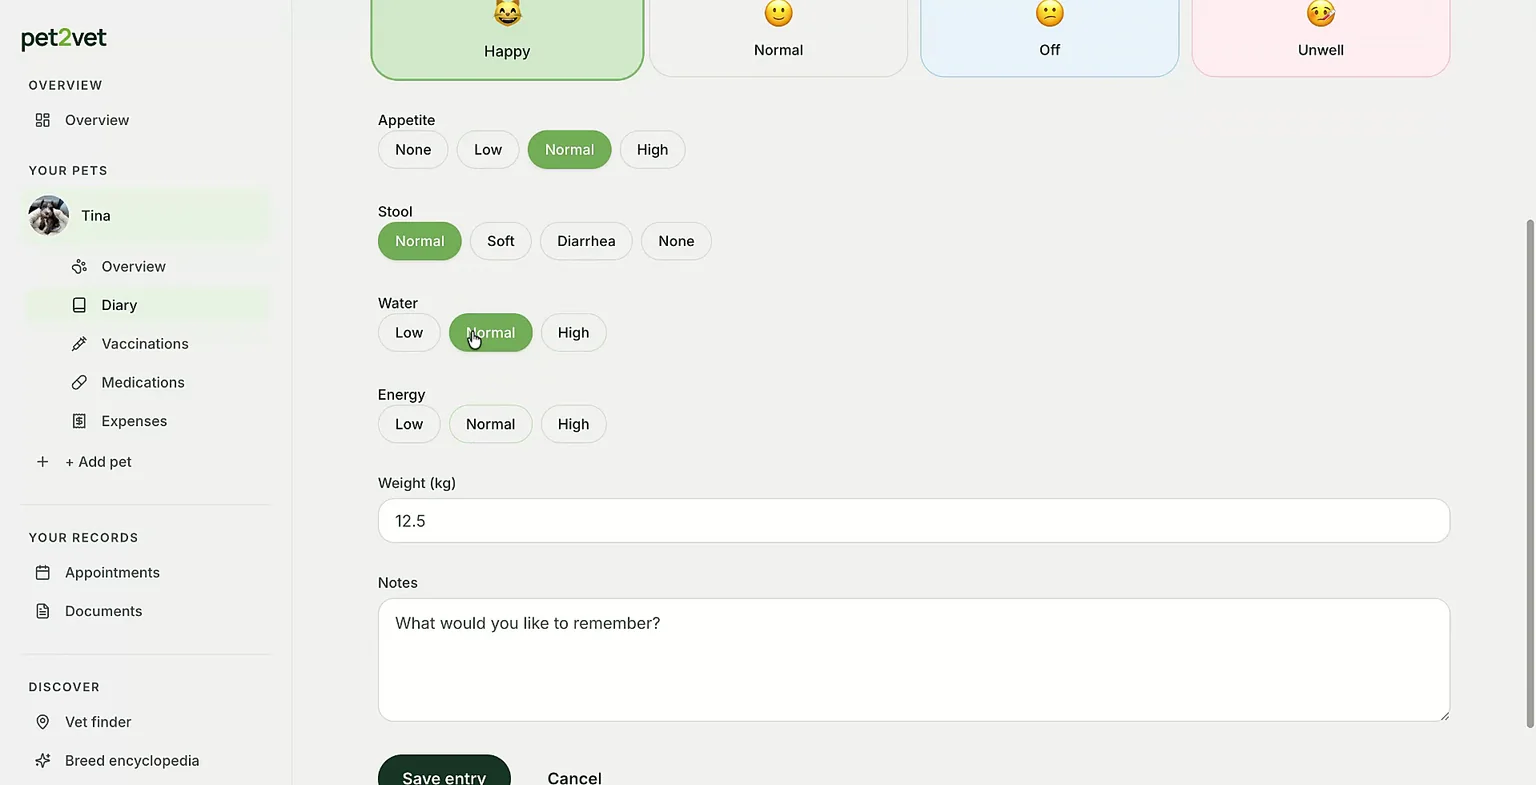
You will then see the diary entry saved, along with the start of a weight tracking graph for your pet.
Step 7: Manage vaccinations and medications
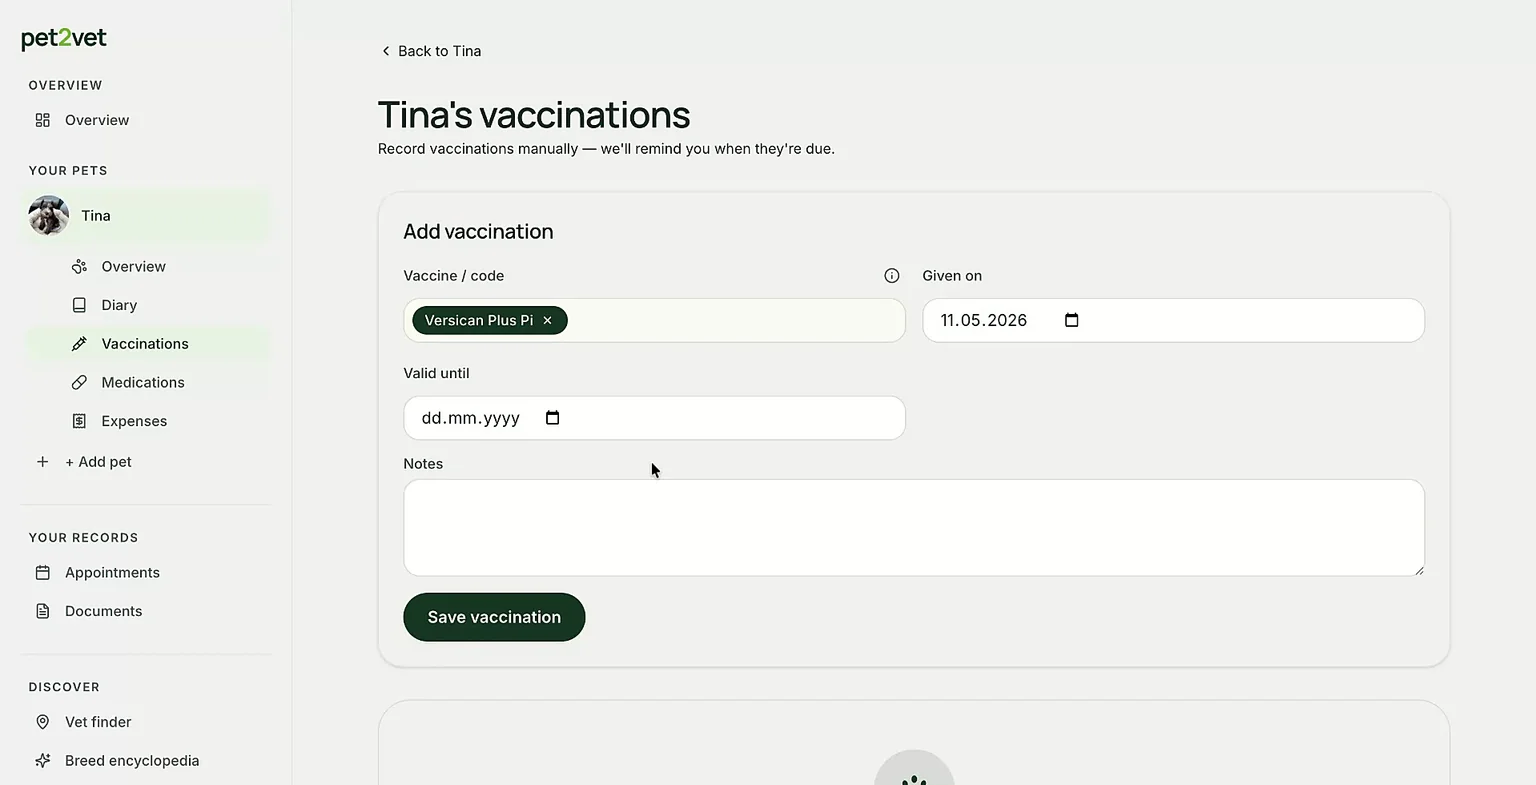
You can add vaccination records, including the date they were given and when they are due next.
You will receive vaccination reminders in your overview when a vaccination is due.
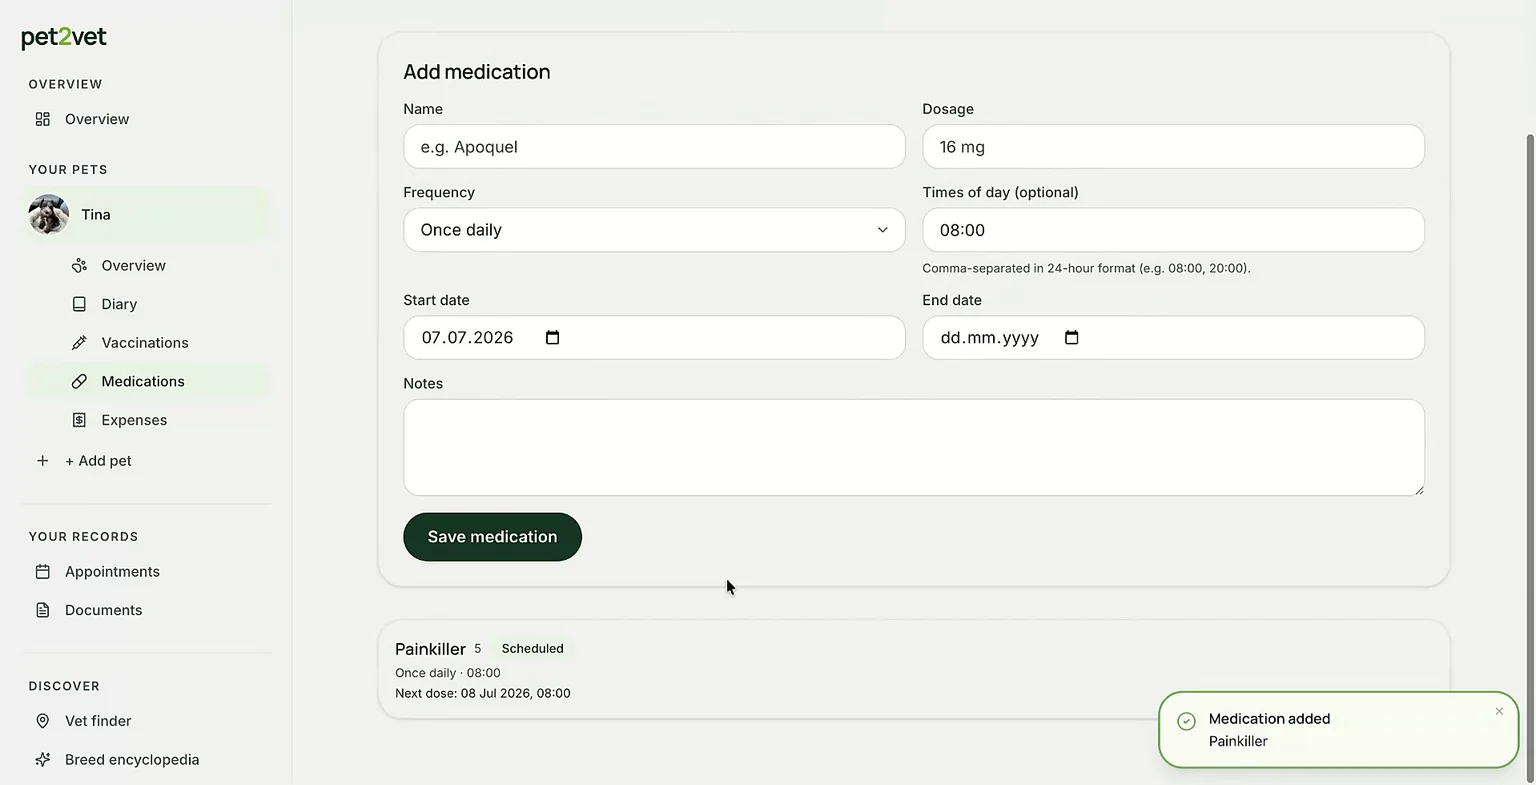
Similarly, you can manage medications. If a medication is taken daily, you will receive daily reminders.
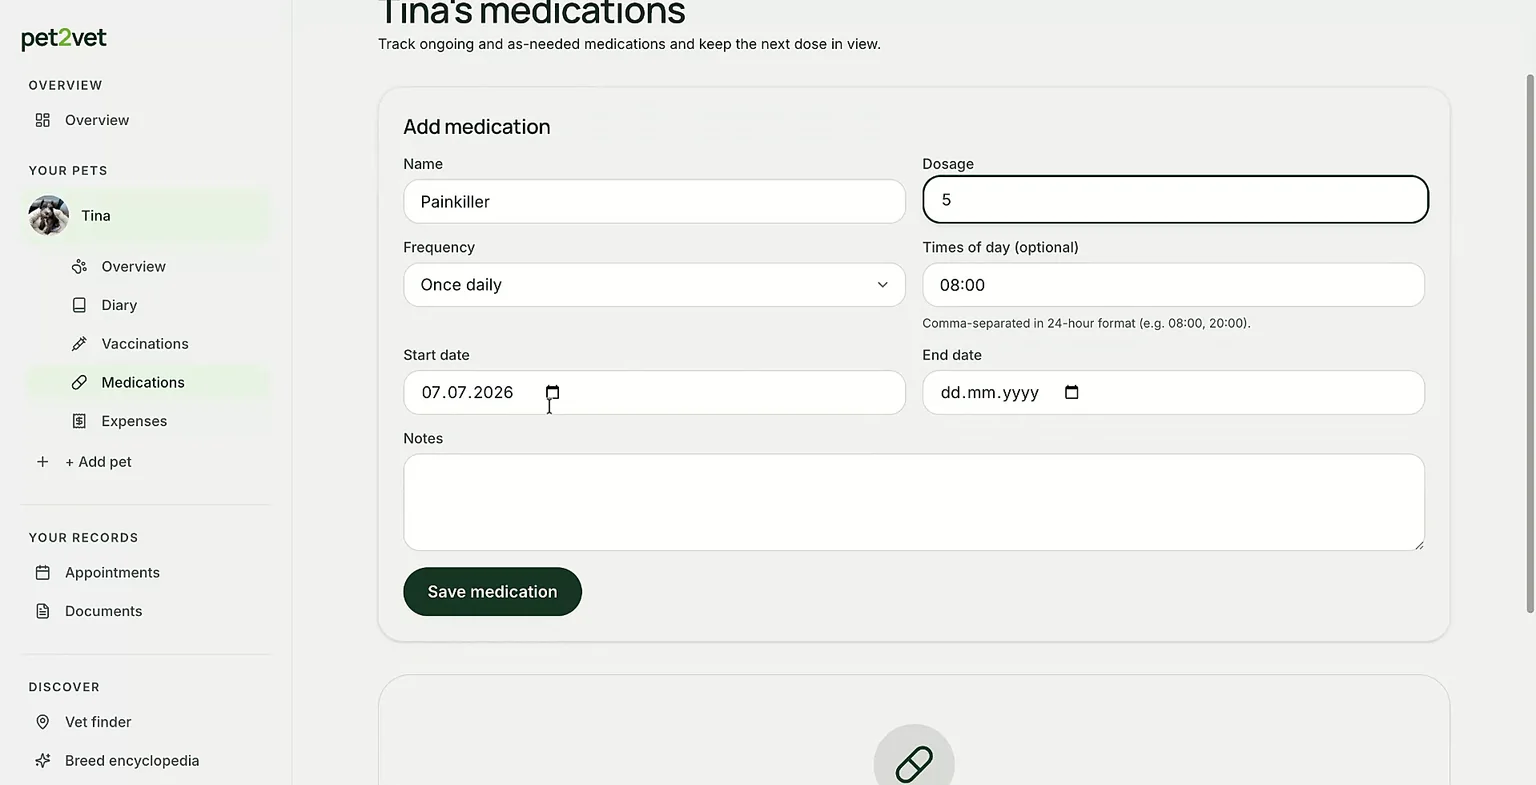
In the Next Dose section, you can see when the next dose is due (for example, "tomorrow") and adjust the schedule if needed.
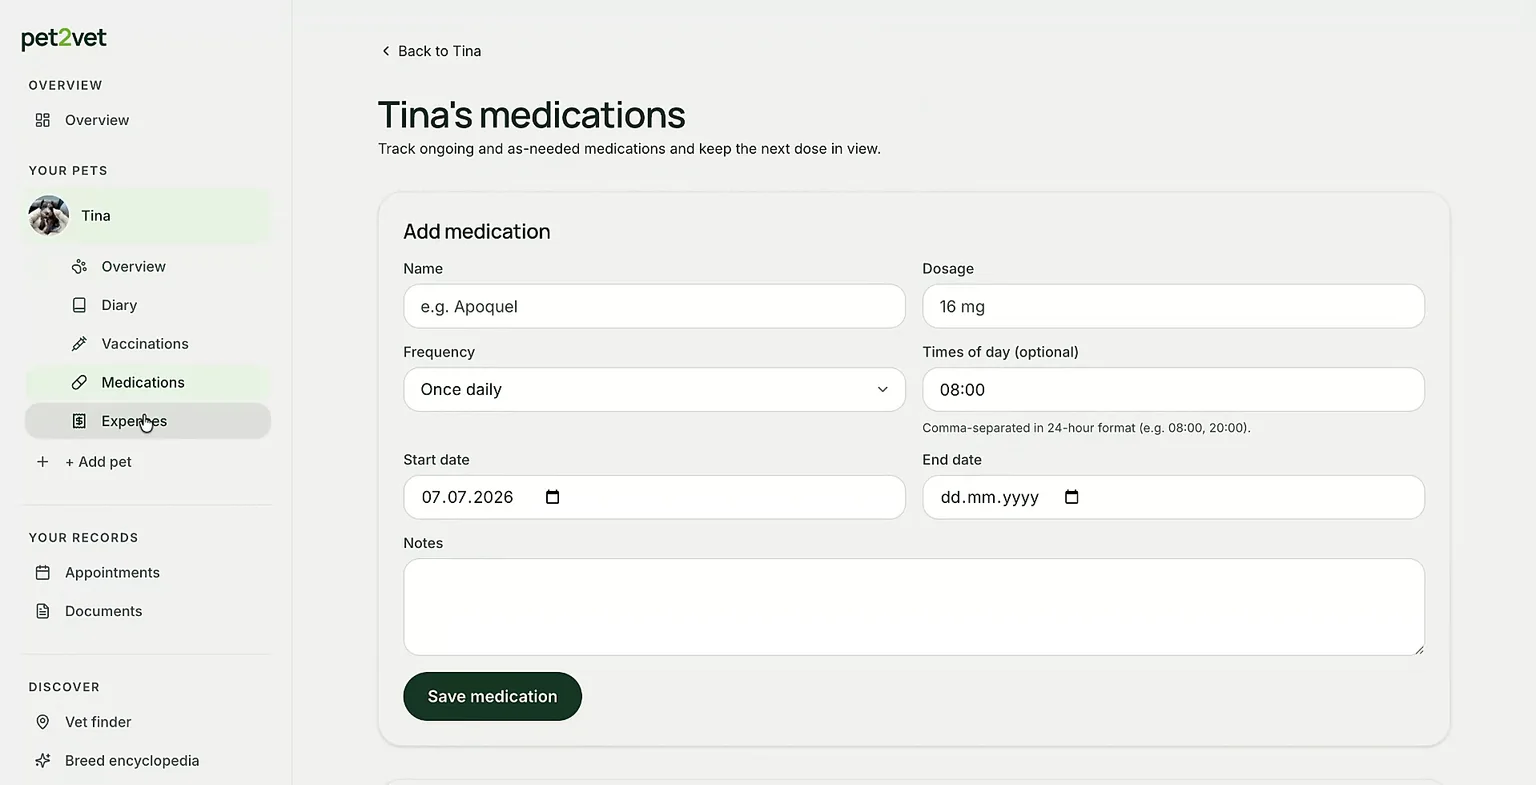
Step 8: Track expenses
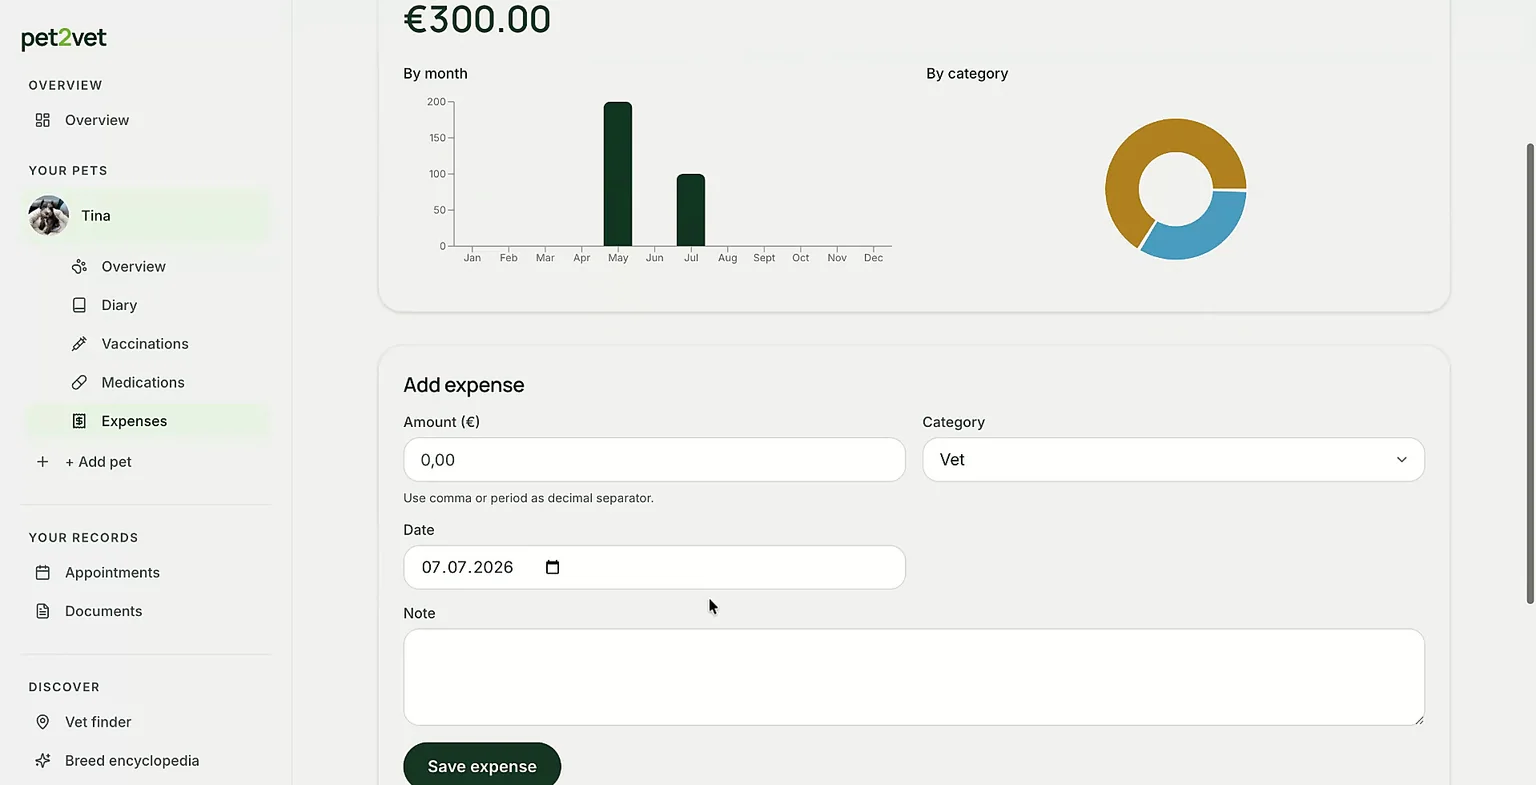
You can add costs in the Expense Tracking section. For example, if you spent 200 on a vet visit, enter that amount so you can monitor your pet-related expenses.
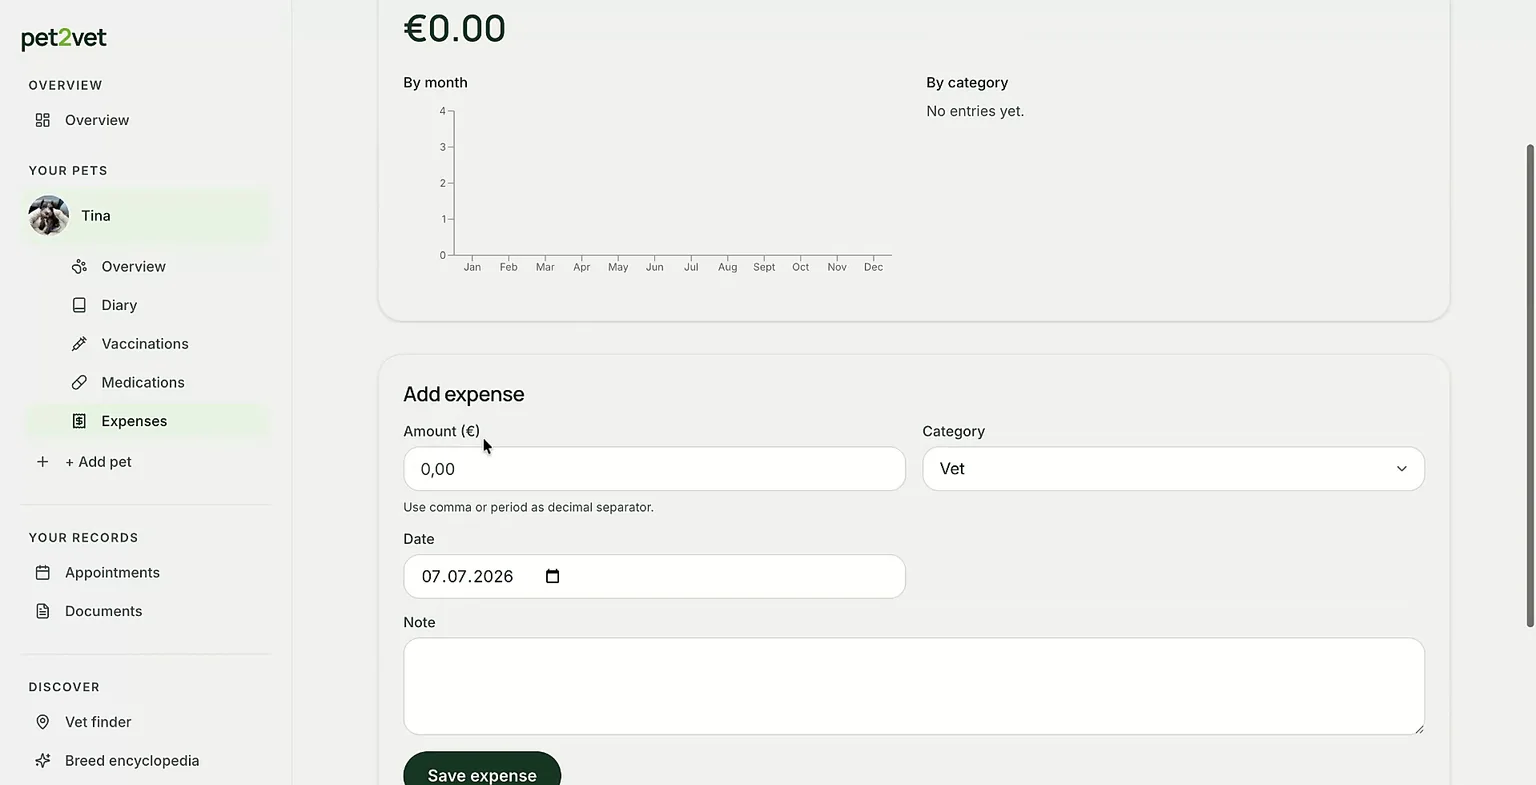
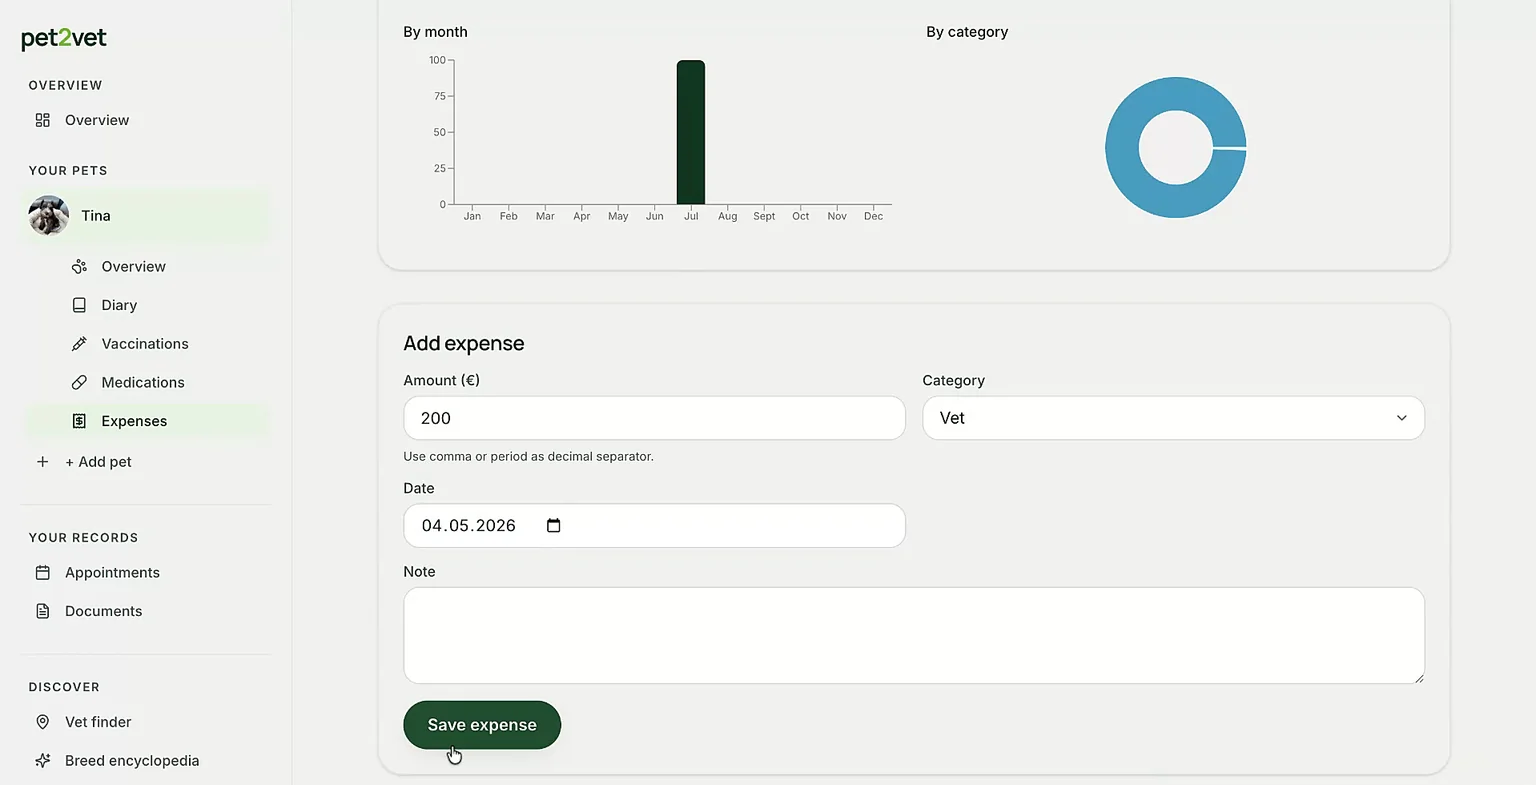
Expenses can be viewed as a graph or a pie chart for easy analysis.
Step 9: Access documents
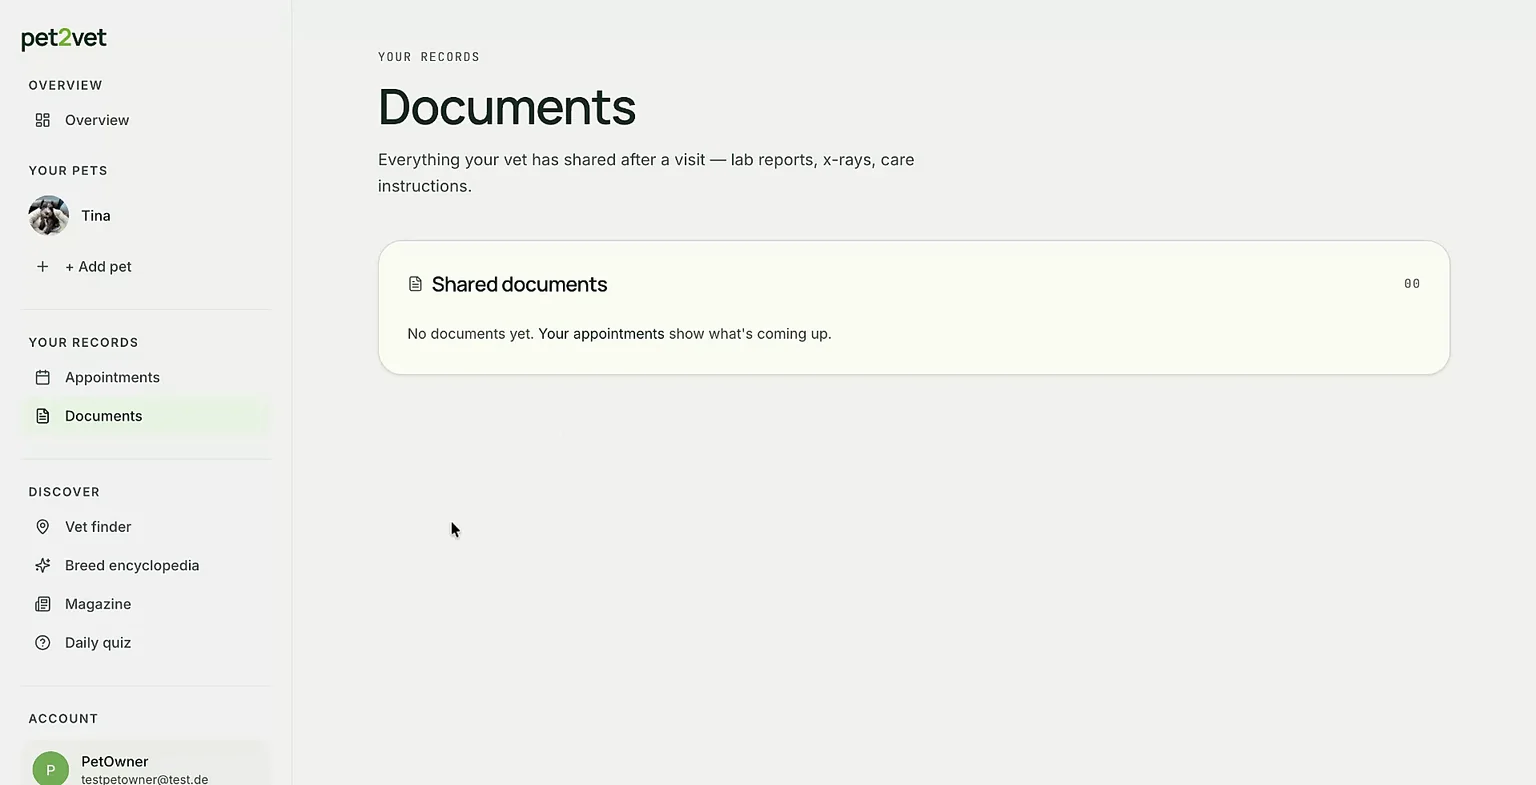
After visiting your appointment, you can find shared documents (such as reports or prescriptions) in your pet's Documents folder.
Step 10: Review reminders and your weekly summary
In your overview, you will see active reminders such as upcoming vaccinations, expense tracking summaries, and your pet's weekly summary. Your favorite clinic is also visible here, so everything you need is in one place.
Step 11: Share your pet's profile
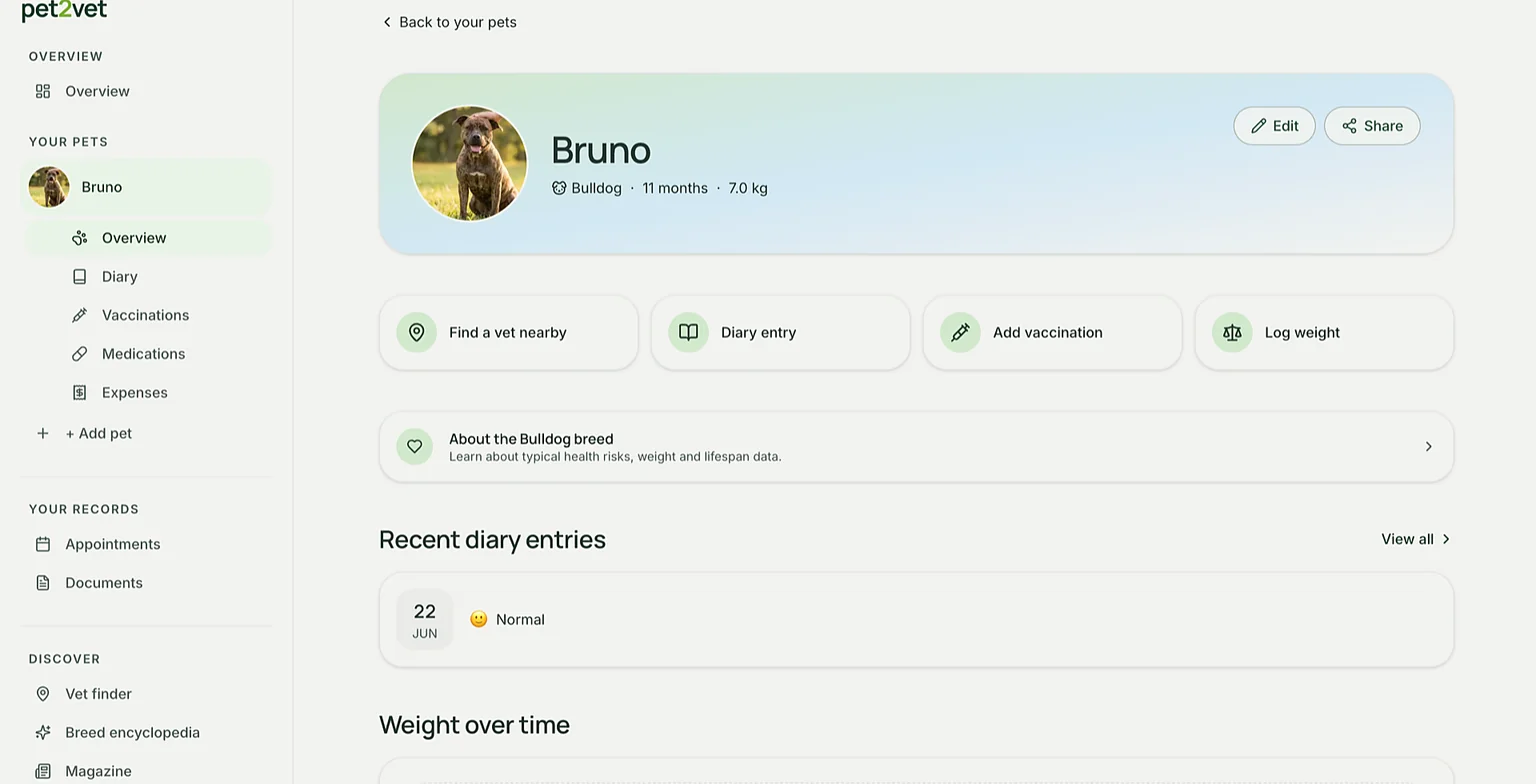
Pet2Vet lets you share a pet with the people who help care for them, such as a partner, a family member, or a pet sitter. Open your pet's profile and click Share in the top-right corner to get started.
Enter the email address of the person you want to invite and click Send invite. We create an invite link for them, and accepting it only needs a free account. Anyone you invite becomes a co-caretaker: they can see the full profile and add diary, weight, vaccination, and medication entries, just like you.
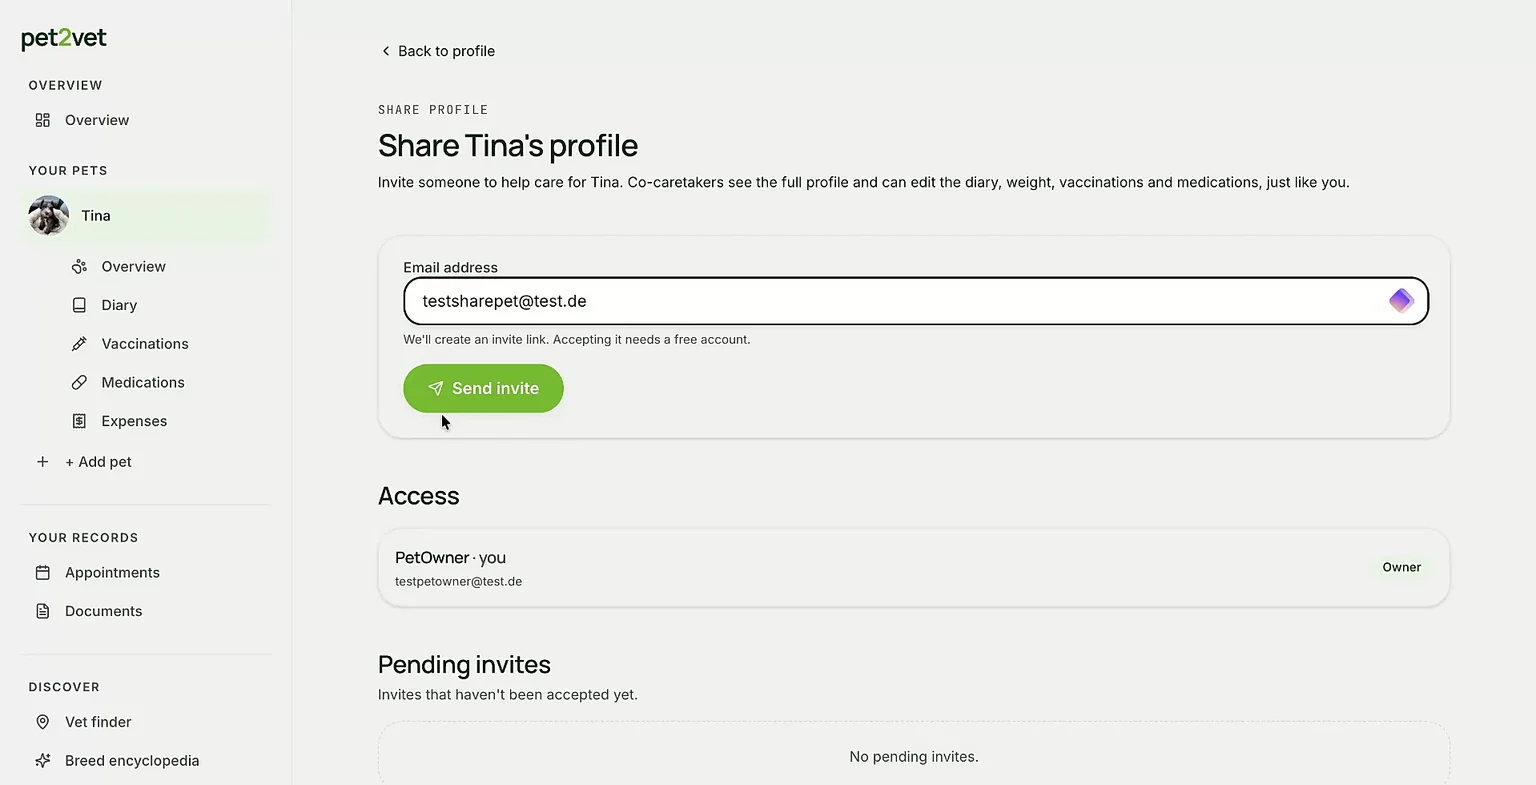
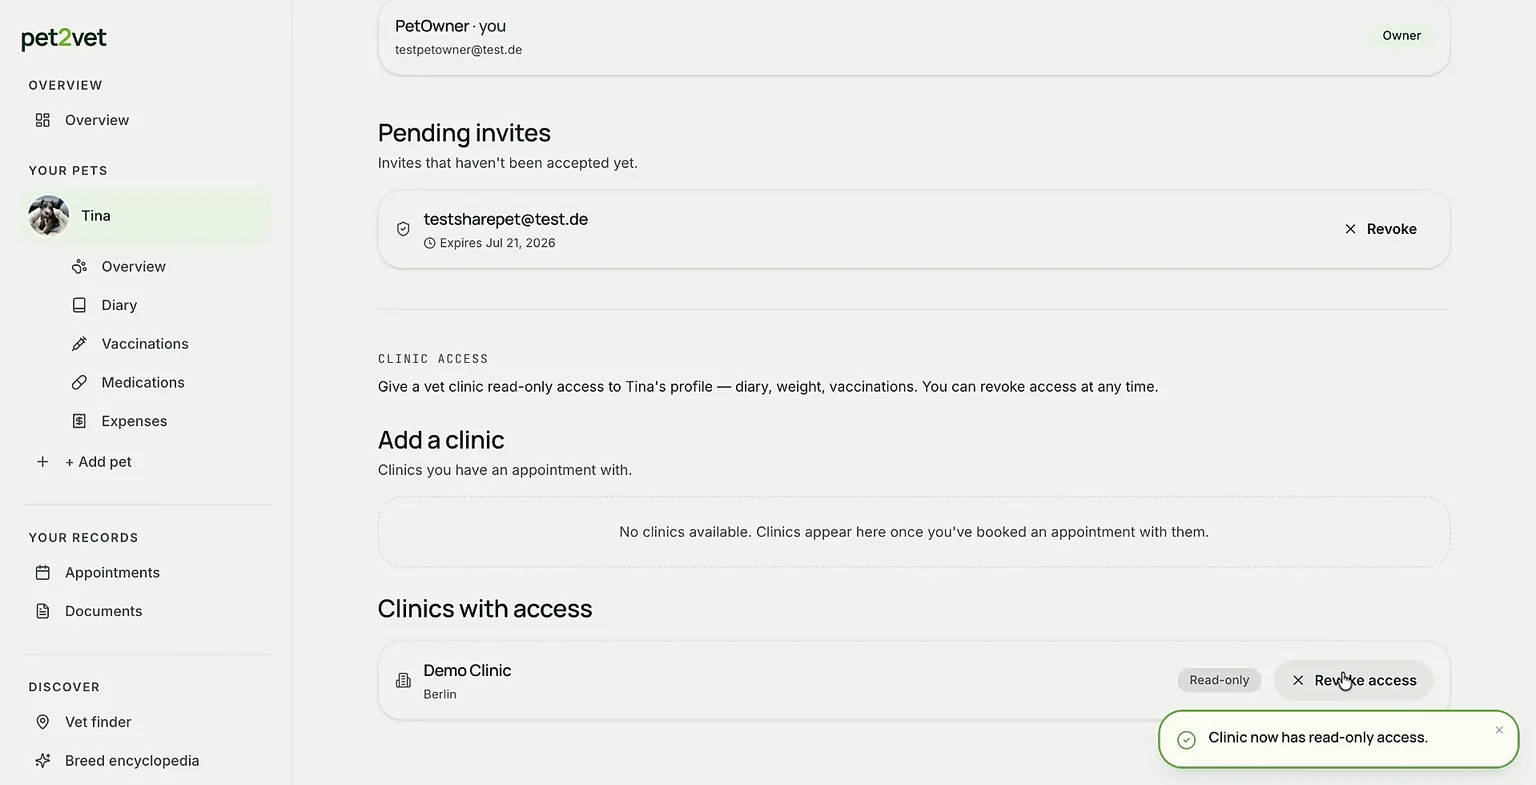
Under Access you can see who already has access, and under Pending invites you can see invitations that haven't been accepted yet. You can revoke any invite or remove access at any time.
Step 12: Give your clinic access
On the same screen, you can give a vet clinic read-only access to your pet's profile, including the diary, weight, and vaccinations. Clinics appear here once you've booked an appointment with them. You stay in control and can revoke access at any time.
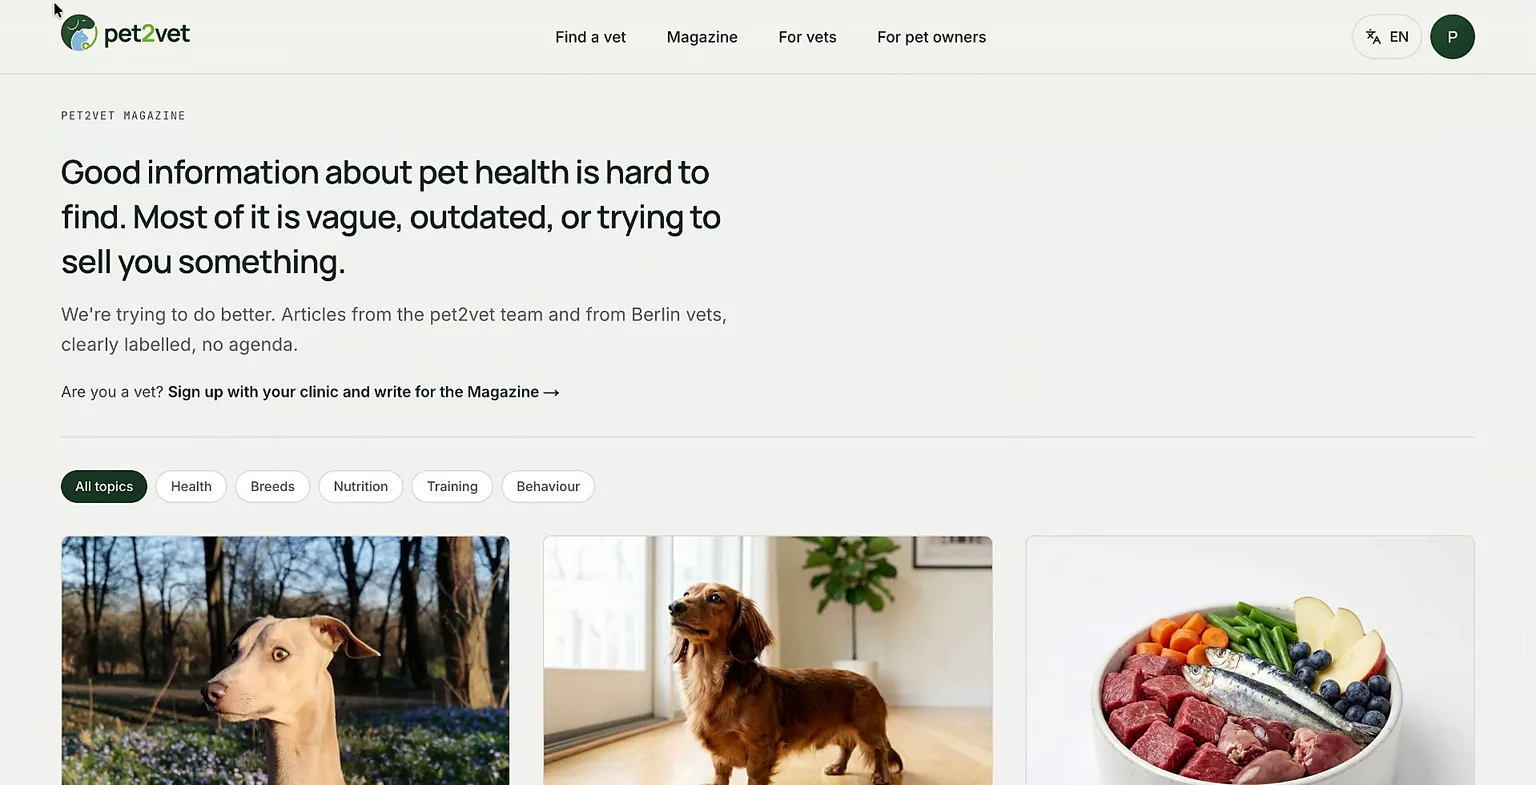
Step 13: Explore the magazine
Feel free to explore the in-app magazine for tips, tricks, and other interesting articles on how to best care for your pet.